Close


EVILENERGY | Celebrate the Game, Upgrade Your Build!

Show Your Ride, support Your Team!

Featured Products
![[20FT] EVIL ENERGY PTFE Fuel Line Kit, complete black hose & fittings set, 180-day return](http://www.ievilenergy.com/cdn/shop/files/Test-2025-Evilenergy-125598065_940x.png?v=1742144807)
![[16FT] EVIL ENERGY PTFE Fuel Line Kit, black braided hose, fittings, free shipping & return](http://www.ievilenergy.com/cdn/shop/files/Test-2025-Evilenergy-125598171_940x.png?v=1742144807)
EVIL ENERGY 4/6/8/10AN PTFE Fuel Line Kit | E85 Nylon Braided Hose | 16/20FT Black Black with Comprehensive Fittings
- $62.09
- $62.09
$70.99- Unit price
- per
![CPE Fuel Line[25FT]](http://www.ievilenergy.com/cdn/shop/files/25FTCPE_FuelLine_940x.png?v=1735220649)
![CPE Fuel Line[20FT]](http://www.ievilenergy.com/cdn/shop/files/20FTCPE_FuelLine_940x.png?v=1735220649)
EVIL ENERGY 4/6/8/10AN CPE Fuel Line Kit Black Nylon Braided Fuel Hose Fitting Kit 20FT/25FT
- $65.99
- $65.99
$76.89- Unit price
- per
About Author

Amber
Toyota Camry Ignition Coil Connector Replacement: Complete DIY Guide
22 May 2026
0 Comments

🎁 A Personal Gift For My Readers
To support your project, I've secured an exclusive 8% OFF for you.
Simply paste the code at checkout.
💡 Use the savings to grab your extra fittings, oil lines, or connectors for free!
Your Promo Code
Blogs8
Tap to copy & save
🛡️ Official Reader Discount
🔧 Save on Fittings/Hoses
🔒 Secure Checkout
Quick Answer
Toyota Camry ignition coil connector replacement is a common repair on 2002–2011 Camrys (2.4L 2AZ-FE and 3.5L 2GR-FE engines) when the plastic electrical connector becomes brittle from engine heat and breaks during coil service. The Toyota ignition coil connector repair costs under $20 in parts and takes 30–60 minutes, making it one of the most cost-effective fixes for stubborn P0351–P0354 (igniter circuit malfunction) DTCs that persist even after installing new coils.
Key facts:
✅ Connector failure is extremely common on 100k+ mile (160k+ km) Camrys
✅ Replacement pigtail costs $8–$18; crimp tool optional (can use pliers)
✅ Symptoms mimic a bad coil — but the coil itself may be perfectly good
✅ DIY difficulty: 2/5 — requires basic wire splicing
Introduction
You replaced the ignition coil on your Camry, cleared the fault code, and the exact same P0351 or igniter circuit code returned. You might have swapped coils between cylinders, confirmed the old unit was firing, or installed a brand-new component, yet the dashboard warning persists. Before buying another replacement part or suspecting an Engine Control Module (ECM) failure, check the harness clips. A targeted harness repair is often the missing step in your comprehensive ignition coil repair workflow.
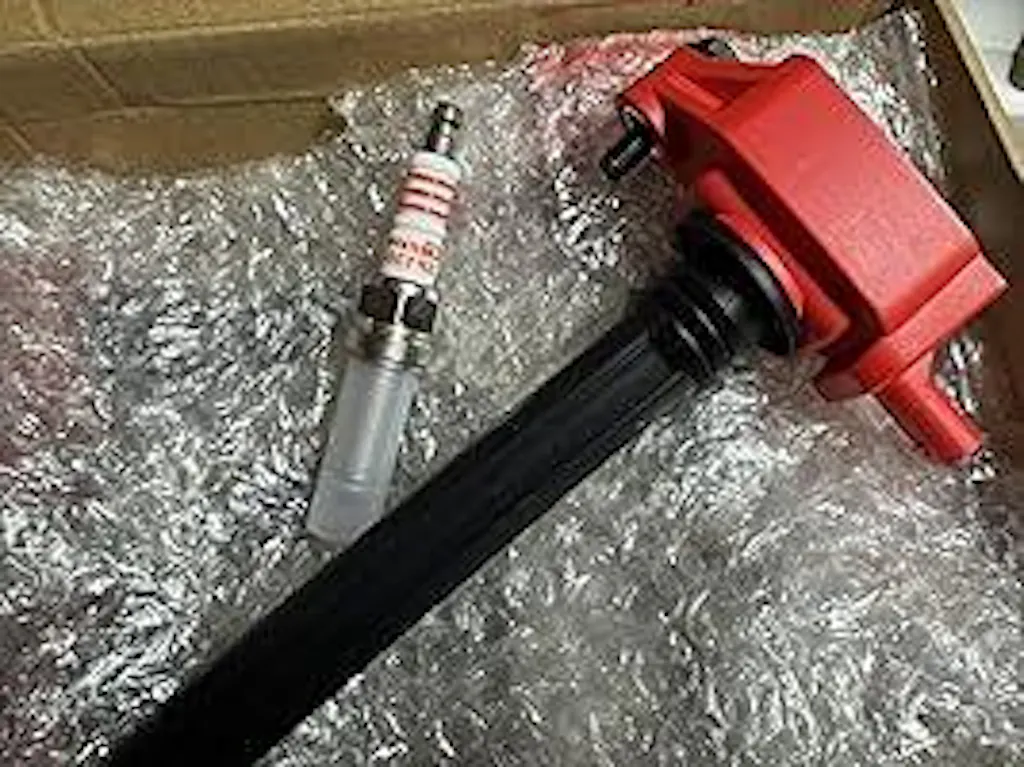
The electrical connector that plugs into each ignition coil on these Camrys is made of plastic that becomes dangerously brittle after a decade of heat cycling in the engine bay. The locking tabs snap off, pins push out of their sockets, corrosion builds up internally, and the connection degrades enough to trigger circuit fault codes. This guide walks you through diagnosing, sourcing, and replacing a failed Toyota ignition coil connector on the most commonly affected Camry generations.
Which Camrys Are Affected?
Engine & Year Coverage
|
Engine
|
Years
|
Common In
|
Connector Type
|
Failure Rate
|
|
2.4L 2AZ-FE (4-cylinder)
|
2002–2011 / XV30/XV40 Camry
|
LE, SE, XLE models
|
4-pin female pigtail
|
Moderate-High at high mileage
|
|
3.5L 2GR-FE (V6)
|
2007–2011 XV40 Camry
|
XLE, Limited, SE V6
|
4-pin female pigtail
|
Moderate
|
|
2.2L (earlier)
|
1997–2001 XV20 Camry
|
Older models
|
Similar design
|
Lower (fewer still on road)
|
|
2.5L AR-FE (4-cylinder)
|
2010+ XV50 Camry
|
Newer generation
|
Updated design
|
Low (improved material)
|
The 2005 Toyota Camry ignition coil connector is one of the most frequently searched specific model years, as many 2002–2006 Camrys are now well past the 150,000-mile (240,000 km) mark, where connector degradation accelerates.
How to Tell If It's the Connector (Not the Coil)
This is the critical diagnostic step that saves money:
|
Symptom Pattern
|
Likely Cause
|
Why
|
|
New coil fixed the problem immediately
|
Original coil was bad
|
Normal wear-out
|
|
Same code returns within days/weeks after new coil
|
Connector issue likely
|
Connection is intermittent/degraded
|
|
Code moves when swapping coils to different cylinder
|
Swapped coil was bad
|
Confirms coil diagnosis
|
|
Code stays on SAME cylinder even with known-good coil
|
Connector or wiring for that cylinder
|
Coil is not the problem
|
|
P035x code with NO misfire codes (P030x)
|
Often connector/wiring
|
Circuit fault without confirmed misfire
|
|
Connector tab visibly broken or missing
|
Definitely needs replacement
|
Physical damage = unreliable connection
|
Visual Inspection Checklist
Before buying any parts, inspect every Toyota Camry ignition coil connector on your engine:
☐ Locking tab intact (not broken or cracked)
☐ Connector body not melted or discolored from heat
☐ Pins sitting flush inside the connector housing (none pushed back/recessed)
☐ No green corrosion or white powder buildup on visible metal contacts
☐ Wiring insulation not cracked, brittle, or frayed near the connector
☐ Connector seats fully onto coil with an audible 'click.'
Sourcing the Right Connector
Part Numbers by Engine
|
Engine
|
OEM Connector Pigtail PN
|
Typical Online Price
|
Includes?
|
|
2.4L 2AZ-FE (2002–2011)
|
90980-11885 / 90980-11886
|
$12–$22
|
Pigtail + pins + (sometimes) crimp terminals
|
|
3.5L 2GR-FE (2007–2011)
|
90980-11885 (often same)
|
$14–$25
|
Pigtail + pins
|
|
Universal aftermarket option
|
N/A
|
$8–$15
|
Generic 4-way pigtail (verify pinout matches)
|
Where to Buy
|
Source
|
Pros
|
Cons
|
|
Amazon (genuine Toyota pigtail)
|
Usually cheapest OEM option, fast shipping
|
Verify seller is selling genuine parts
|
|
eBay
|
Very low prices
|
Counterfeit risk; verify authenticity
|
|
Dealer parts counter
|
100% genuine Toyota part
|
Most expensive ($25–$40)
|
|
RockAuto
|
Good selection, competitive pricing
|
Shipping can be slow
|
|
Local auto parts store
|
Immediate availability
|
May need to special order
|
Important: Buy one extra as a spare if your Camry has high mileage. If one connector has failed, the others are likely on borrowed time due to identical age and heat exposure.
Tools and Materials Required
|
Item
|
Purpose
|
Essential?
|
|
Replacement connector pigtail
|
New connector body with wires/pins
|
Yes — core of this job
|
|
Wire stripper/cutter
|
Strip insulation from existing wires
|
Yes
|
|
Crimping tool (or quality needle-nose pliers)
|
Crimp new pins onto existing wires
|
Highly recommended
|
|
Heat-shrink tubing or electrical tape
|
Insulate splices
|
Yes
|
|
Heat gun or lighter (optional)
|
Shrink heat shrink tubing
|
Helpful
|
|
Dielectric grease
|
Protect new connection
|
Recommended
|
|
Multimeter (optional)
|
Test continuity after repair
|
Helpful for verification
|
|
10 mm socket
|
Remove engine cover/coil bolts (if also doing coil)
|
If removing coils
|
Step-by-Step Connector Replacement Procedure
Phase 1: Remove the Old Connector
Disconnect the negative battery terminal — 10 mm socket. Always disconnect power before working on electrical connections near fuel injectors and ignition components.
Locate the faulty connector using your DTC:
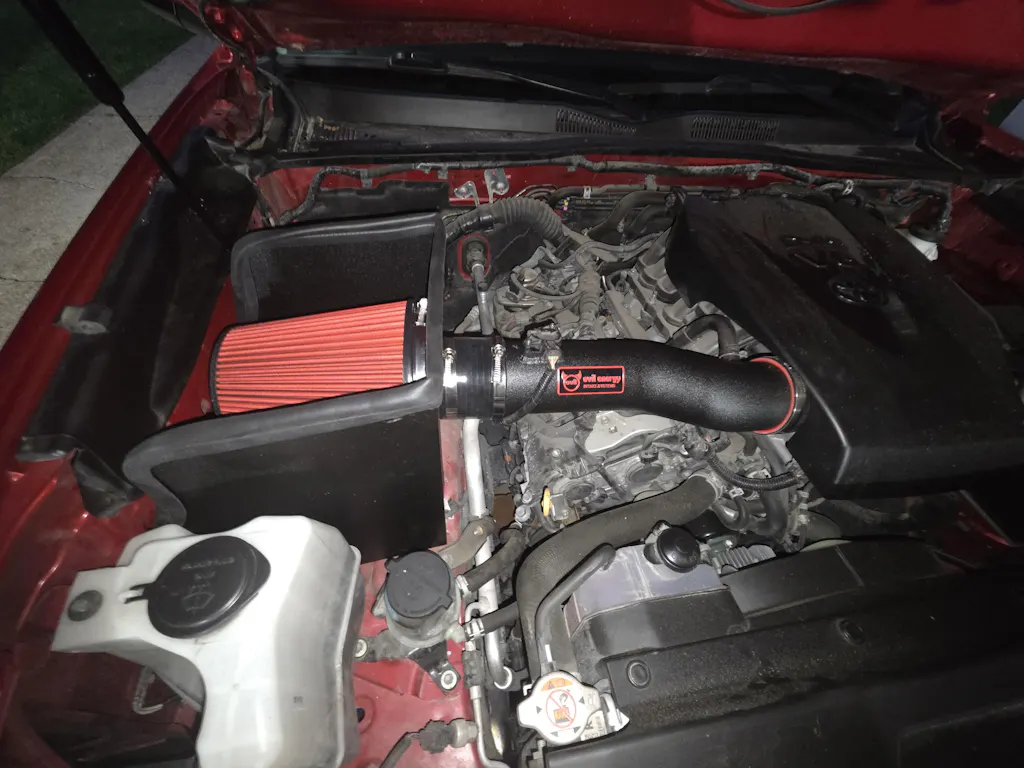
- 2.4L 4-cylinder: Coils sit in a row along the top of the valve cover; connectors face toward the front/radiator
- 3.5L V6: Coils are arranged in two banks (3 per side); connectors are accessible from above
Unplug the connector carefully — Even though it's broken/damaged, try to remove it gently to avoid damaging the coil's male pins. If the tab is already broken, wiggle while pulling straight away from the coil.
Inspect both sides:
-
The female connector (the harness side you're replacing): note which color wire goes to which position
-
The male pins on the coil itself: they should be clean, straight, and undamaged. If the coil's pins are corroded or bent, you may need a new coil as well.
Photograph or draw the wire color layout before cutting anything. Most Toyota 4-cylinder Camry connectors use this pattern (but verify on YOUR vehicle):
|
Pin Position
|
Typical Wire Color
|
Function
|
|
Pin 1
|
Black with white stripe (+B / battery positive)
|
Power supply (switched 12V)
|
|
Pin 2
|
Black (or pink/black on some years)
|
Ground / IGt signal
|
|
Pin 3
|
Blue or yellow
|
IGF feedback signal
|
|
Pin 4
|
Red or brown
|
IGT trigger signal from ECM
|
⚠️ ⚠️ Warning: Wire colors can vary by model year and market. Always photograph your original before cutting.
Phase 2: Splice the New Connector
Cut the old connector off — Leave 3–4 inches (8–10 cm) of wire stub on the harness side so you have room for multiple splice attempts if needed.
Strip approximately 1/4-inch (6 mm) of insulation from each wire on both the harness side and the new pigtail wires.
Match wires by position using your photo/diagram as reference. Align pin 1 to pin 1, pin 2 to pin 2, etc.
Crimp or twist-splice each pair:
- Best practice: Use crimp connectors (butt splices) for each wire individually
- Acceptable alternative: Twist wires together tightly, solder if possible, then cover with heat shrink
- Minimum acceptable: Twist together + wrap securely with electrical tape (not ideal long-term)
Insulate each splice with heat shrink tubing or quality electrical tape. Each wire must be independently insulated — do NOT bundle all bare splices together in a single wrap.
Test continuity with a multimeter if available: check that each pin position in the new connector shows continuity to the correct circuit.
Phase 3: Install and Verify
Plug the new connector firmly onto the ignition coil until it clicks into place.
Apply a small amount of dielectric grease around the connector-coil interface to prevent future moisture intrusion.
Secure the harness with a zip tie or factory clip so the connector doesn't vibrate loose.
Reconnect the battery, start the engine, and verify smooth idle.
Clear codes with your scan tool and drive for 10+ minutes (16+ km).
Re-scan: no P035x codes should return. If the same code persists, the issue may be in the wiring harness further upstream (chafed wire, damaged harness) rather than at the connector.
Cost Summary: Connector vs. Full Coil Job
|
Repair
|
Parts Cost
|
Labor (DIY)
|
Total
|
|
Single connector replacement (DIY)
|
$8–$22
|
Free (30–60 min)
|
$8–$22
|
|
All 4 connectors preemptively (DIY)
|
$32–$88
|
Free (2 hours)
|
$32–$88
|
|
Connector + single new coil (DIY)
|
$23–$87
|
Free (45 min)
|
$23––87
|
|
Single connector (shop labor)
|
$15–$25 parts
|
$80–$150 labor
|
$95–$175
|
Compare this to unnecessarily replacing a perfectly good ignition coil at $30–$70 each — the Toyota Camry ignition coil connector replacement is almost always the smarter first move when circuit codes persist after a new coil install.
FAQs: Toyota Camry Ignition Coil Connector
Q: How do I know if it's the connector and not the coil?
A: The telltale sign is persistence after replacement. Here's the decision flowchart:
|
Test Result
|
Interpretation
|
Next Step
|
|
New coil clears code permanently
|
Original coil was bad
|
Done! No connector work needed
|
|
Code returns < 1 week after new coil
|
Suspect connector
|
Inspect connector physically; replace if damaged
|
|
Code stays on SAME cylinder after swap test
|
Not the coil — check connector/wiring
|
Replace connector
|
|
P035x code WITHOUT any P030x misfire code
|
Strong indicator of connector/circuit issue
|
Replace connector first
|
Q: Can I just use electrical tape to hold a broken connector on?
A: Technically yes, temporarily — but it's a terrible idea for anything beyond getting home:
|
Tape 'Fix' Method
|
Risk Level
|
Expected Outcome
|
|
Tape wrapped around connector to hold it on
|
High — vibration will loosen it
|
Works hours to days; code returns
|
|
Zip-tie pulling connector toward coil
|
Medium — better mechanical hold
|
May last weeks; moisture still gets in
|
|
Hot glue filling connector gap
|
Medium-High
|
Heat from engine softens glue eventually
|
|
Proper pigtail replacement
|
None — permanent fix
|
Done correctly, lasts life of vehicle
|
Spend the $12 on a proper pigtail. It's genuinely not worth the risk of being stranded or cooking a catalytic converter from an intermittent connection.
Q: Do all four connectors need to be replaced at once?
A:
|
Situation
|
Recommendation
|
|
Only one connector broken, car has < 120k miles
|
Replace only the broken one; inspect the other three closely
|
|
One connector broken, car > 150k miles
|
Strongly consider replacing all four — the rest are the same age
|
|
Multiple tabs look cracked or fragile
|
Replace all four now
|
|
Planning to keep the Camry 3+ years
|
Proactively replace all four as preventive maintenance
|
|
Selling the car soon
|
Minimum viable fix — broken one only
|
A set of 4 pigtails costs $32–$88 and takes about 2 hours total. Compared to the hassle of coming back to do #3 and #4 six months later, doing them all at once makes sense for any keeper car.
Q: Will a bad connector damage my new ignition coil?
Yes, indirectly. An intermittent or degraded connection causes the coil to operate erratically — sometimes receiving full voltage, sometimes getting nothing, sometimes getting noisy/spiky signals. This electrical stress can shorten the coil's lifespan, and the misfire condition caused by the bad connection risks the same catalytic converter damage discussed throughout our Ignition Coil Repair.
Next Steps
Diagnostics & Related Systems
-
Learn how ignition coils function, common fail points, and bench testing procedures in our main Ignition Coil Repair.
-
Looking to source replacement parts for your system? Check out our premium Ignition Coils Collection.
Other Manufacturer Guides
-
Ford Trucks: Master the service procedures for your truck's ignition network with our Ford F-150 Ignition Coil Guide.
-
V8 Maintenance: Avoid common installation errors by reviewing the 2007 Ford F150 Ignition Coil Tech Article or the specialized 2006 F150 Coil Pack Replacement Guide.
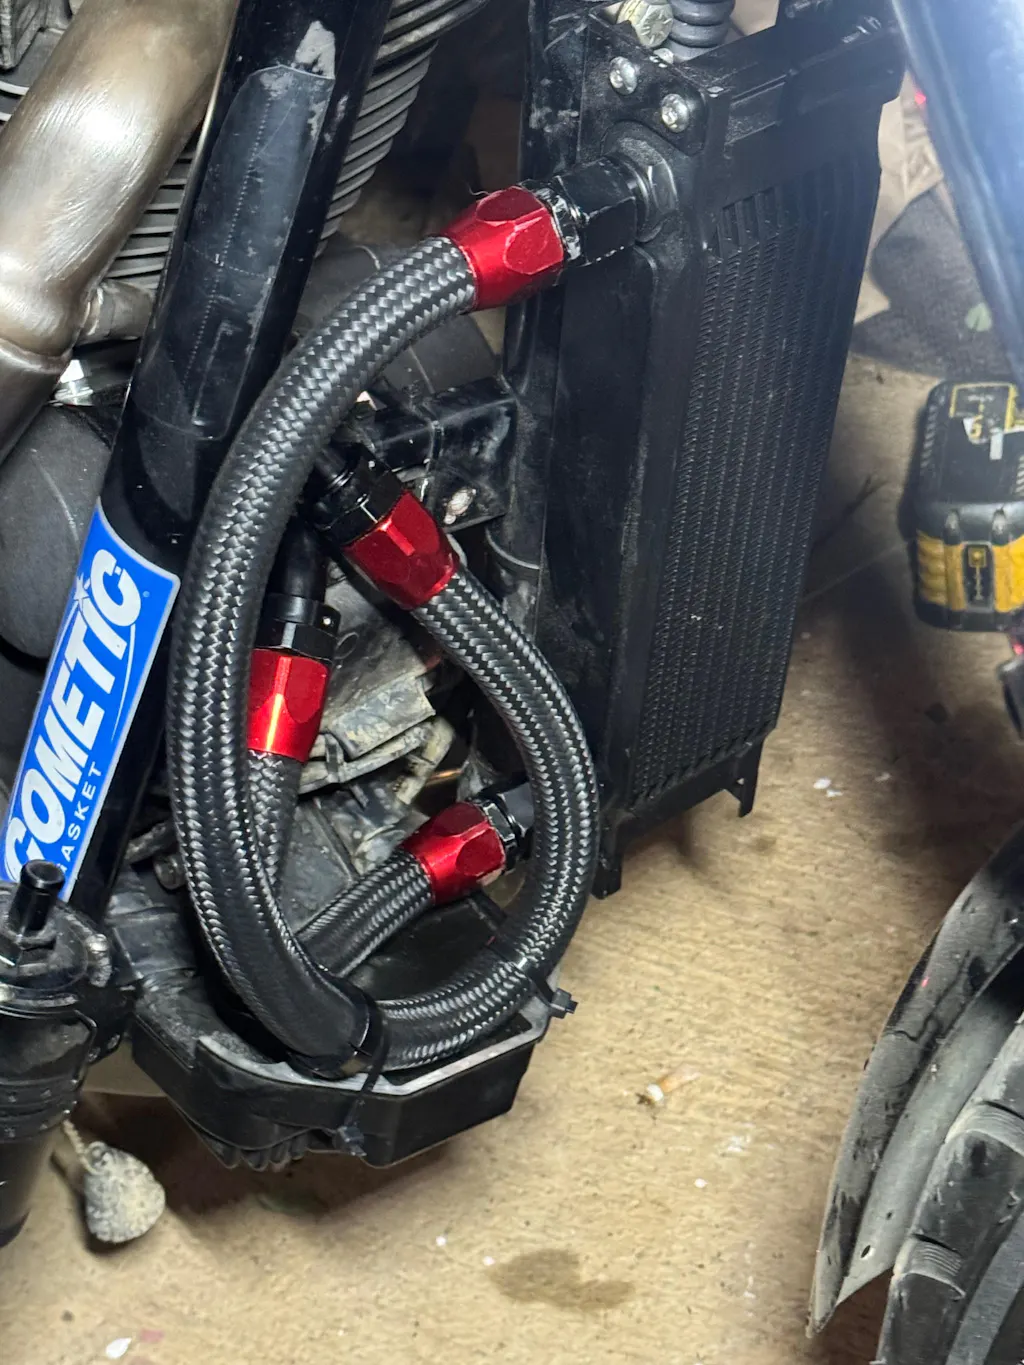
Related Fuel System Upgrades from Evil Energy
While addressing your Camry's ignition system, consider whether your fuel delivery components are also due for attention:
|
Current Condition
|
Upgrade Path
|
|
Aging rubber fuel lines (>10 years)
|
PTFE fuel line kit
|
|
Fuel filter never changed or overdue
|
|
|
Restoring or maintaining daily driver reliability
|
Tags: