Close


EVILENERGY | Celebrate the Game, Upgrade Your Build!

Show Your Ride, support Your Team!

Featured Products
![[20FT] EVIL ENERGY PTFE Fuel Line Kit, complete black hose & fittings set, 180-day return](http://www.ievilenergy.com/cdn/shop/files/Test-2025-Evilenergy-125598065_940x.png?v=1742144807)
![[16FT] EVIL ENERGY PTFE Fuel Line Kit, black braided hose, fittings, free shipping & return](http://www.ievilenergy.com/cdn/shop/files/Test-2025-Evilenergy-125598171_940x.png?v=1742144807)
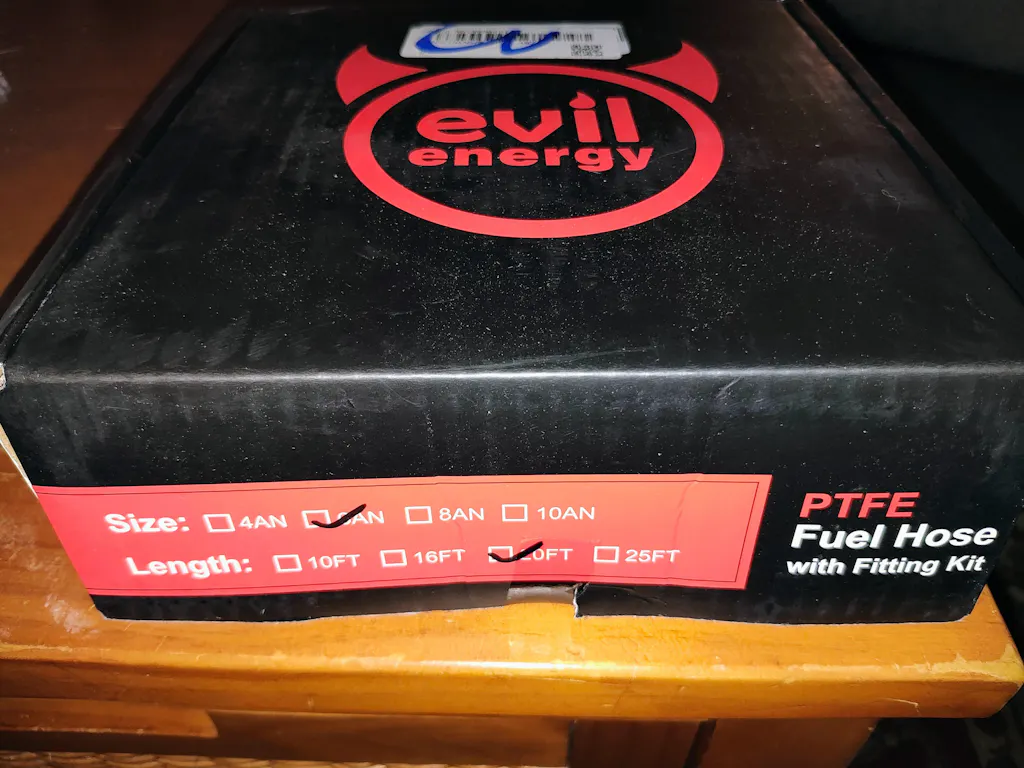
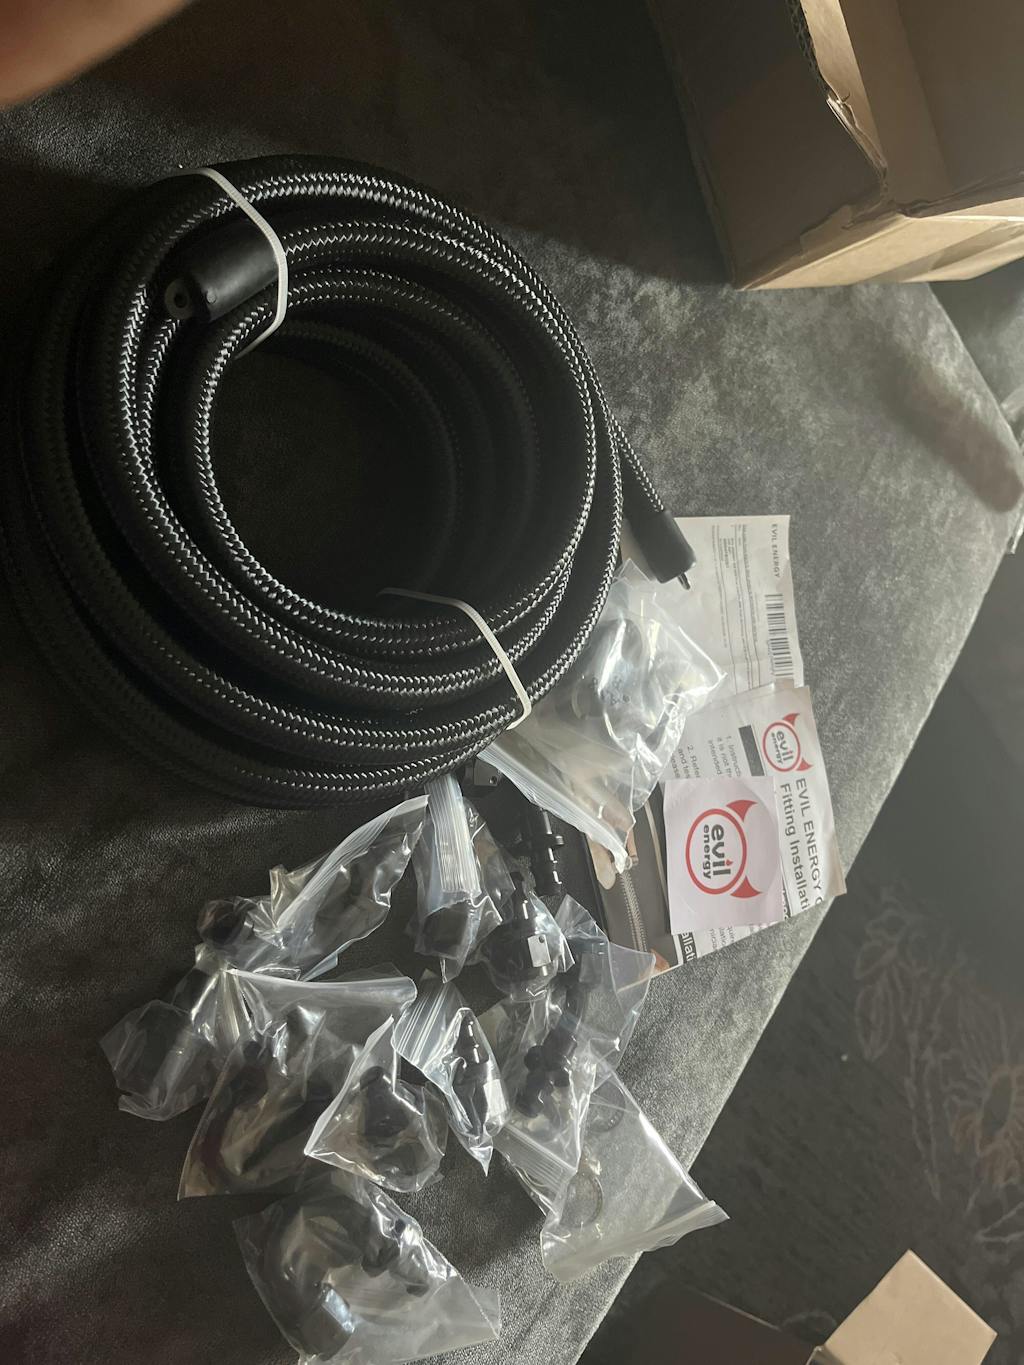
EVIL ENERGY 4/6/8/10AN PTFE Fuel Line Kit | E85 Nylon Braided Hose | 16/20FT Black Black with Comprehensive Fittings
- $62.09
- $62.09
$70.99- Unit price
- per
![CPE Fuel Line[25FT]](http://www.ievilenergy.com/cdn/shop/files/25FTCPE_FuelLine_940x.png?v=1735220649)
![CPE Fuel Line[20FT]](http://www.ievilenergy.com/cdn/shop/files/20FTCPE_FuelLine_940x.png?v=1735220649)
EVIL ENERGY 4/6/8/10AN CPE Fuel Line Kit Black Nylon Braided Fuel Hose Fitting Kit 20FT/25FT
- $65.99
- $65.99
$76.89- Unit price
- per
About Author

Amber
Chevy Cruze Coil Pack Replacement: Complete DIY Guide for 1.4L Turbo
20 May 2026
0 Comments

🎁 A Personal Gift For My Readers
To support your project, I've secured an exclusive 8% OFF for you.
Simply paste the code at checkout.
💡 Use the savings to grab your extra fittings, oil lines, or connectors for free!
Your Promo Code
Blogs8
Tap to copy & save
🛡️ Official Reader Discount
🔧 Save on Fittings/Hoses
🔒 Secure Checkout
Quick Answer
Chevy Cruze coil pack replacement on the 1.4L turbo engine (2011–2019) is one of the easiest DIY repairs you'll ever do on this car — most owners finish in under 15 minutes with a single socket. The chevrolet cruze coil pack sits directly on top of the engine cover, requires no intake removal, and uses a single bolt per unit. If your chevy cruze ignition coil replacement need has been triggered by a check engine light, this guide will have you back on the road fast.
Key Facts at a Glance
-
Component Layout: 4 individual coils (Coil-on-Plug) arranged in a single row—all completely top-accessible.
-
Common Fault Codes: P0300 (random misfire) or cylinder-specific codes P0301–P0304.
-
Part Costs: OEM AC Delco coils run $40–$65 each; quality aftermarket units range from $15–$28 each.
-
Difficulty Rating: 1/5 — Highly beginner-friendly.
Introduction
If your Chevrolet Cruze is running rough, hesitating under acceleration, or has illuminated the check engine light with an active misfire code, there is a very high probability you need a Chevy Cruze coil pack replacement. The 1.4L turbo (LUJ/LUV engine family) used in 2011–2019 Cruzes is notorious for occasional ignition coil failures, typically manifesting between 50,000 and 90,000 miles (80,000–145,000 km).
The good news? Unlike many modern vehicles where the ignition system is buried deep under complex plastic shrouds or intake plenums, every Chevy Cruze ignition coil replacement on this engine is positioned right on top. They are fully visible the moment you pop the hood. Proper ignition maintenance is an essential pillar of overall ignition-coil-repair.
Which Chevy Cruze Engines Use This Coil Design?
|
Engine
|
Years
|
Coil Count
|
Location
|
Access
|
|
1.4L Turbo LUK/LFV
|
2011–2019
|
4 (COP)
|
On top of engine cover
|
Instant — no covers to remove
|
|
1.8L (non-turbo)
|
2011–2016
|
4 (COP)
|
Under engine cover
|
Remove plastic cover first (30 seconds)
|
|
2.0 Diesel
|
2014–2019
|
4 (COP)
|
Under cover
|
Similar to 1.8L access
|
This guide focuses on the most common configuration — the 1.4L turbo, which accounts for the vast majority of Chevrolet Cruze coil pack searches and questions.
Symptoms of a Bad Chevy Cruze Ignition Coil
The 1.4T engine behaves in characteristic ways when a Chevy Cruze coil pack starts failing:
Symptom Checklist
☐ Check Engine Light ON (usually P0300 random/multiple misfire or P0301–P0304 cylinder-specific)
☐ Noticeable shake or vibration at idle (feels like the car has a 'miss' to it)
☐ Hesitation or stumble around 3,000 RPM — especially noticeable under boost (turbo spooling)
☐ Slight drop in fuel economy
☐ Car feels 'down on power' when passing or merging
☐ Occasient hard start when warm (hot-soak scenario)
Symptom Severity Table
|
Symptom
|
Severity
|
Urgency
|
|
CEL solid + slight idle roughness
|
Low-Medium
|
Schedule repair within 1 week
|
|
CEL flashing
|
High
|
Repair within 24 hours — cat damage risk
|
|
Car won't start (multiple coils dead)
|
Critical
|
Tow recommended
|
|
Strong fuel smell from exhaust
|
Medium-High
|
Unburned fuel entering exhaust system
|
|
Repeated same-code misfire after clearing
|
Medium
|
Coil likely confirmed bad
|
Diagnosing the Faulty Coil
Step 1: Read Your DTCs
|
Code
|
What It Means
|
Likely Cause
|
|
P0300
|
Random/Multiple Cylinder Misfire
|
Could be any coil, plug, injector, or fuel issue
|
|
P0301
|
Cylinder 1 Misfire
|
Coil #1, plug #1, or injector #1
|
|
P0302
|
Cylinder 2 Misfire
|
Coil #2, plug #2, or injector #2
|
|
P0303
|
Cylinder 3 Misfire
|
Coil #3, plug #3, or injector #3
|
|
P0304
|
Cylinder 4 Misfire
|
Coil #4, plug #4, or injector #4
|
|
P0351–P0354
|
Ignition Coil A-D Primary/Secondary Circuit
|
Almost always confirms bad coil
|
Pro tip: On the Cruze 1.4T, cylinders are numbered front-to-back: cylinder 1 = timing belt side (front), cylinder 4 = transmission side (rear). Coils are arranged in a row left-to-right matching cylinder order.
Step 2: Visual Inspection (Takes 2 Minutes)
With the engine off and cool:
Open the hood — the four Chevrolet Cruze coil pack units are visible on top of the engine cover
Look for:
-
Cracks or white carbon lines on any coil body
-
Oil residue near the base of a coil
-
Melted or discolored plastic on the coil housing
-
Loose or damaged electrical connector
Step 3: Swap Test (Most Reliable Free Method)
-
Clear codes with your scan tool
-
Swap the suspected coil with an adjacent one
-
Drive until the misfire returns (5–10 minutes)
-
Rescan: if the code moved to the other cylinder number, that coil is bad
Choosing Replacement Parts for Your Cruze
Recommended Brands
|
Brand
|
Part Number
|
Price Range
|
Lifespan
|
Notes
|
|
AC Delco D585 (OEM)
|
12611424
|
$40–$65
|
80k–120k miles
|
Factory original; best reliability
|
|
Delphi GN10312
|
GN10312
|
$22–$35
|
70k–100k miles
|
Close second to OEM; popular on forums
|
|
NGK 48813
|
48813
|
$20–$32
|
70k–110k miles
|
Solid mid-range choice
|
|
BWD E594/CB1308
|
E594 / CB1308
|
$15–$25
|
50k–80k miles
|
Budget option; acceptable quality
|
|
Store brand (AutoZone Duralast etc.)
|
Varies
|
$12–$20
|
30k–60k miles
|
Shortest lifespan; not recommended for long-term keepers
|
Should You Buy One or Four?
|
Situation
|
Buy
|
Why
|
|
First failure, car < 70k miles
|
Single coil
|
Others likely fine; save money now
|
|
First failure, car > 90k miles
|
Full set of 4
|
Remaining coils approaching end of life
|
|
Already replaced one coil, another failed within 6 months
|
Full set of 4
|
Pattern indicates batch end-of-life
|
|
Selling car soon
|
Single coil
|
Minimize investment
|
|
Planning to keep 3+ years
|
Quality set (AC Delco or Delphi)
|
Do it once and forget it
|
Chevy Cruze Coil Pack Replacement: Step-by-Step
Tools Needed
|
Tool
|
Purpose
|
|
10 mm socket
|
Remove coil retaining bolt
|
|
Extension (3-inch / 75 mm optional but helpful)
|
Reach past wiring harness if needed
|
|
Ratchet
|
Turn the bolt
|
|
Dielectric grease
|
Protect new coil boot
|
|
OBD-II scanner (any basic model)
|
Clear codes after job
|
Step-by-Step Replacement Guide
-
Safety and Setup
Ensure the vehicle is parked on a level surface and the engine is completely cool. Turbocharged engine bays retain heat for a long time; allow at least 15–20 minutes of cooling time. Disconnect the negative battery terminal using your 10mm socket to safeguard the electrical system.
-
Disconnect the Electrical Harness
Locate your targeted coil based on your diagnostic codes. Press down firmly on the integrated plastic release tab on the electrical connector, then pull straight outward.
⚠️ Caution: Due to years of intense engine heat, the plastic clips on these wiring harnesses can become brittle. If your connector breaks during removal, do not panic—this is an incredibly common issue across many platforms. For detailed instructions on executing a clean wire splice repair, check out our companion toyota-camry-ignition-coil-connector repair tutorial.
[Wiring Harness Connector] ---> [Unlatch Tab] ---> [Pull Straight Out]
-
Unbolt and Extract
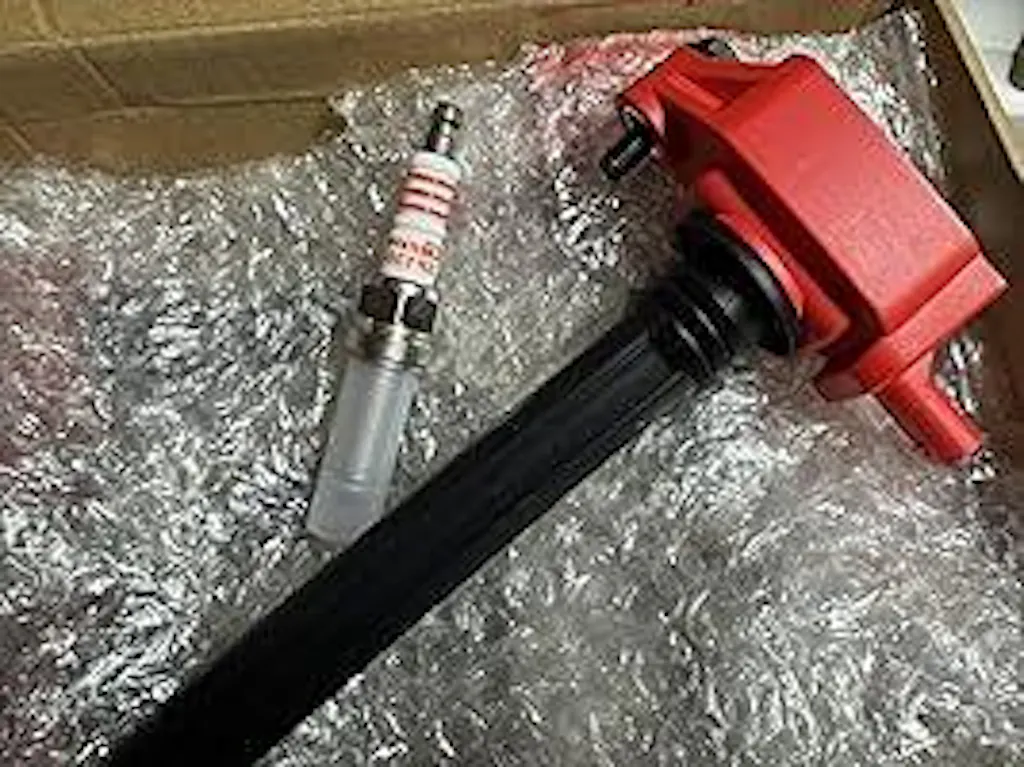
Use your 10mm socket to remove the single retaining bolt holding the coil body to the valve cover assembly. Keep a firm grip on the bolt so it does not slip down into the engine bay architecture. Grasp the coil body firmly and pull straight upward with a slight twisting motion. The long rubber boot should pop cleanly off the spark plug ribbing.
-
Well Inspection & Spark Plug Check
Shine a flashlight down into the open spark plug tube well. Ensure it is completely free of dirt, debris, or pooled engine oil. If you have a spark plug socket handy, unbolt the spark plug to inspect the electrode tip. A heavily fouled, worn, or incorrectly gapped spark plug creates excessive resistance, which will burn out a brand-new ignition coil prematurely.
-
Prep and Install the New Coil
Apply a thin film of dielectric grease around the inside lip of the new coil's rubber boot. This seals out moisture and prevents the rubber from fusing to the spark plug ceramic over time. Lower the new coil straight down into the tube well, pressing firmly until you feel it snap over the top terminal thread of the spark plug.
-
Secure and Fire Up
Hand-thread the 10mm retaining bolt back into place to prevent cross-threading the aluminum valve cover inserts. Snug the bolt down with your hand ratchet—do not over-tighten it (Max torque is 71 lb-in / 8 N·m, or just past snug).
Plug the electrical harness back into the coil terminal until it clicks securely. Reconnect your negative battery cable, start the engine, and verify a smooth idle. Finally, hook up your OBD-II scanner, clear the old misfire codes, and complete a brief test drive.
Time Estimate
|
Job
|
Estimated Time
|
|
Single coil replacement
|
10–20 minutes
|
|
Full set of 4 coils (first time)
|
30–45 minutes
|
|
Full set of 4 coils + spark plugs
|
45–60 minutes
|
Common Mistakes & How to Avoid Them
|
Mistake
|
Consequence
|
Prevention
|
|
Dropping the 10 mm bolt into the engine bay
|
Hard to retrieve; may require magnetic pickup tool
|
Use a socket with extension or place a rag below first
|
|
Forgetting which coil came from which position
|
Wrong coil in wrong spot (if testing old ones)
|
Replace one at a time, or label them
|
|
Not checking the spark plug condition
|
New coil fails prematurely due to worn/fouled plug
|
Always inspect plug when coil is removed
|
|
Skipping dielectric grease
|
Boot sticks to plug, making next removal difficult
|
Apply every time — takes 5 seconds
|
|
Over-torquing the bolt
|
Strips threads in aluminum valve cover
|
Snug + tiny bit more, no heavy force needed
|
Cost Breakdown: Chevy Cruze Coil Replacement
|
Scenario
|
Parts Cost
|
Labor
|
Total
|
|
Single coil DIY (aftermarket)
|
$15–$28
|
Free
|
$15–$28
|
|
Single coil DIY (OEM AC Delco)
|
$40–$65
|
Free
|
$40–$65
|
|
Full set × 4 DIY (aftermarket)
|
$60–$112
|
Free
|
$60–$112
|
|
Full set × 4 DIY (OEM AC Delco)
|
$160–$260
|
Free
|
$160–$260
|
|
Single coil at dealer
|
$55–$85 + markup
|
$90–$150 labor
|
$145–$235
|
|
Full set at dealer
|
$160–$340 + markup
|
$150–$250 labor
|
$310–$590
|
|
Independent shop, single coil
|
$30–$50 parts
|
$70–$120 labor
|
$100–$170
|
FAQ: Chevy Cruze Ignition Coil
Q: How long do Chevy Cruze ignition coils last?
A: Based on CruzeTalk forum owner reports:
|
Mileage
|
Expected Status
|
Owner Reports
|
|
Under 50,000 miles
|
Should be original, no issues expected
|
Rare failures reported
|
|
50,000–80,000 miles
|
Begin inspecting if symptoms appear
|
Most common window for first failure
|
|
80,000–120,000 miles
|
Proactive replacement reasonable
|
Many original sets still running; some failing
|
|
Over 120,000 miles
|
Consider full set replacement regardless of symptoms
|
Diminishing reliability; cost of tow > cost of coil
|
Q: Can a bad coil damage my Cruze's catalytic converter?
A: Yes — absolutely. Every misfiring event dumps raw, unburned fuel into the exhaust stream where it ignites inside the catalytic converter, causing extreme overheating. The Cruze's catalytic converter costs $600–$1,200 to replace (plus potential oxygen sensor damage at $80–$180 each). A $20 aftermarket coil is cheap insurance.
|
Warning Sign
|
Action Required
|
|
Check Engine Light flashing
|
Stop driving as soon as safely possible; flash = active misfire damaging cat
|
|
CEL solid + misfire code
|
Repair within days, avoid highway driving
|
|
Cleared code comes back after 1 drive cycle
|
Confirmed active fault — replace immediately
|
Q: Why does my Cruze only misfire under boost (around 3000 RPM)?
A: This is a classic 1.4T symptom pattern reported extensively on CruzeTalk and Bob Is The Oil Guy forums. Under boost conditions, the cylinder pressure increases significantly, demanding a stronger spark from the coil. A marginal (partially degraded) coil may work fine at idle/light load but fail when the engine demands maximum spark energy.
|
Condition
|
Coil Demand
|
Weak Coil Behavior
|
|
Idle / light cruising
|
Low demand
|
Works normally — no symptoms
|
|
Moderate acceleration (under ~5 PSI boost)
|
Moderate demand
|
May show occasional stumble
|
|
WOT / high boost (8+ PSI)
|
Maximum demand
|
Consistent misfire, hesitation, code triggered
|
If your chevy cruze coil pack only acts up under load, don't wait — it's a sign of progressive degradation and complete failure is coming soon.
Q: Do I need to reprogram anything after replacing a coil?
A: No. Unlike some European vehicles that require ECM coding after ignition component changes, the Chevrolet Cruze 1.4T requires zero programming or adaptation. Simply install the new coil, clear codes, and drive. The PCM automatically recognizes the new component.
Next Steps: More Ignition System Guides
Related Ignition Guides
-
Explore comprehensive testing methodologies and diagnostic logic in our ignition-coil-repair cornerstone article.
-
Ready to source premium replacement components? Browse our curated ignition-coils catalog.
Other Truck & Car Applications
-
Ford EcoBoost & Modular V8 Platforms: Learn how to service Ford truck configurations by visiting our Ford-F150-ignition-coil-replacement manual.
-
Model-Year Specific Ford Breakdown: For deep dives into older truck platforms, review our 2007-ford-f150-ignition-coil overview or the targeted 2006-f150-coil-pack-replacement tutorial.
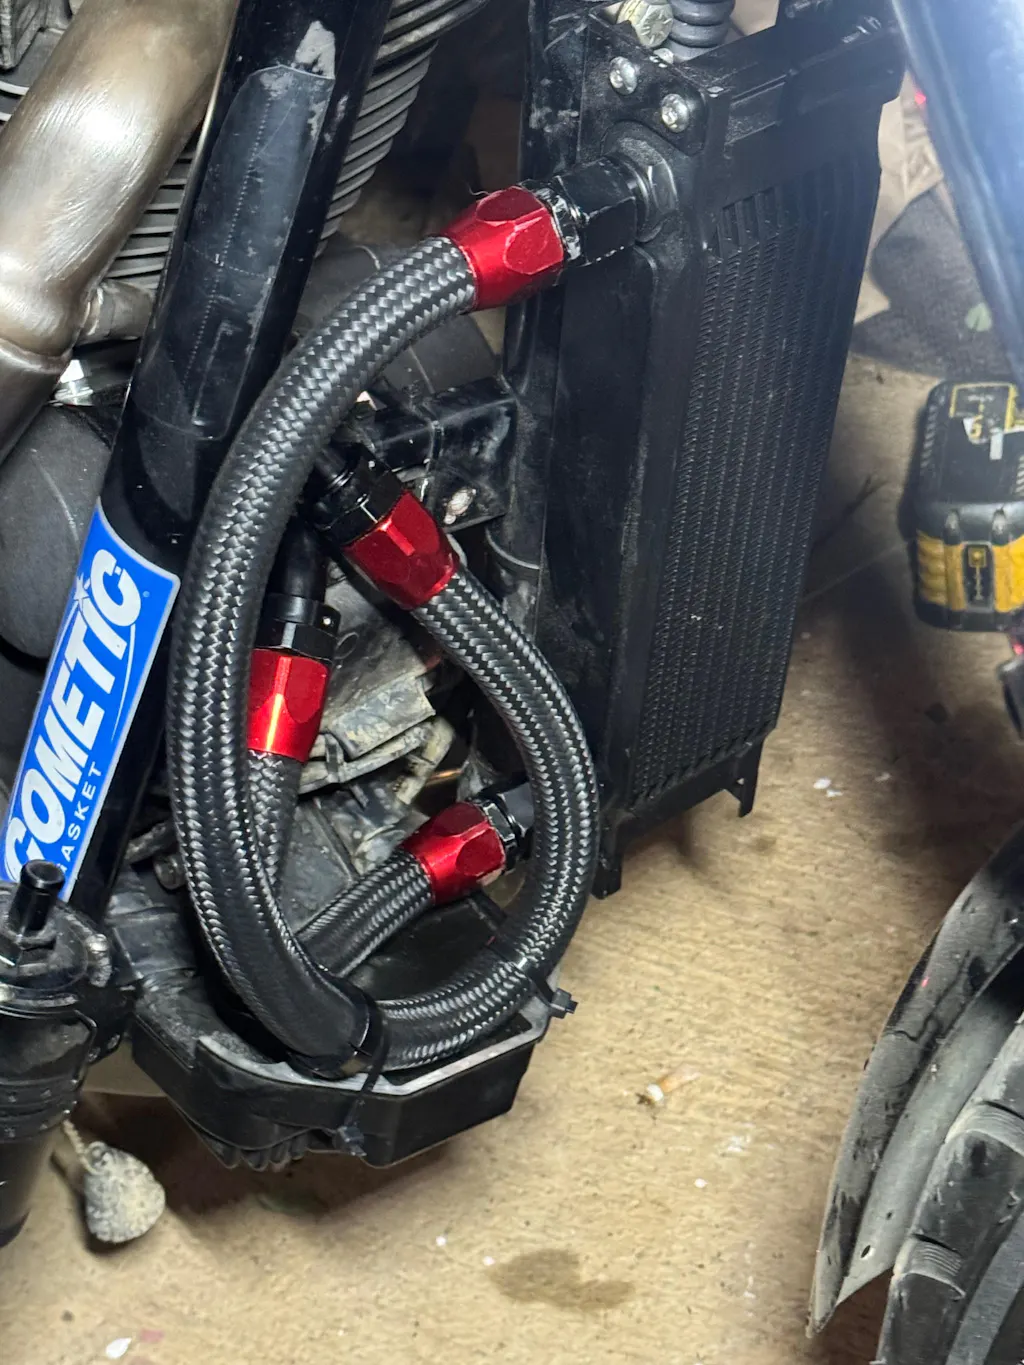
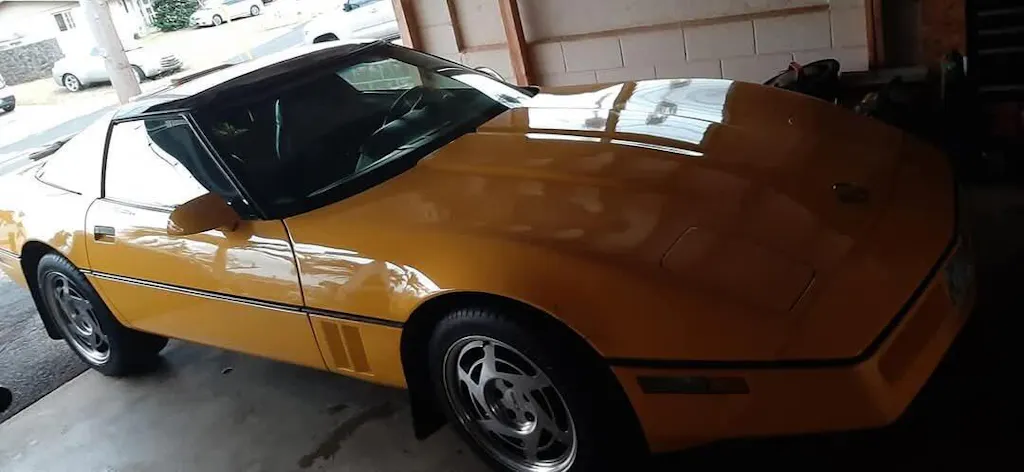
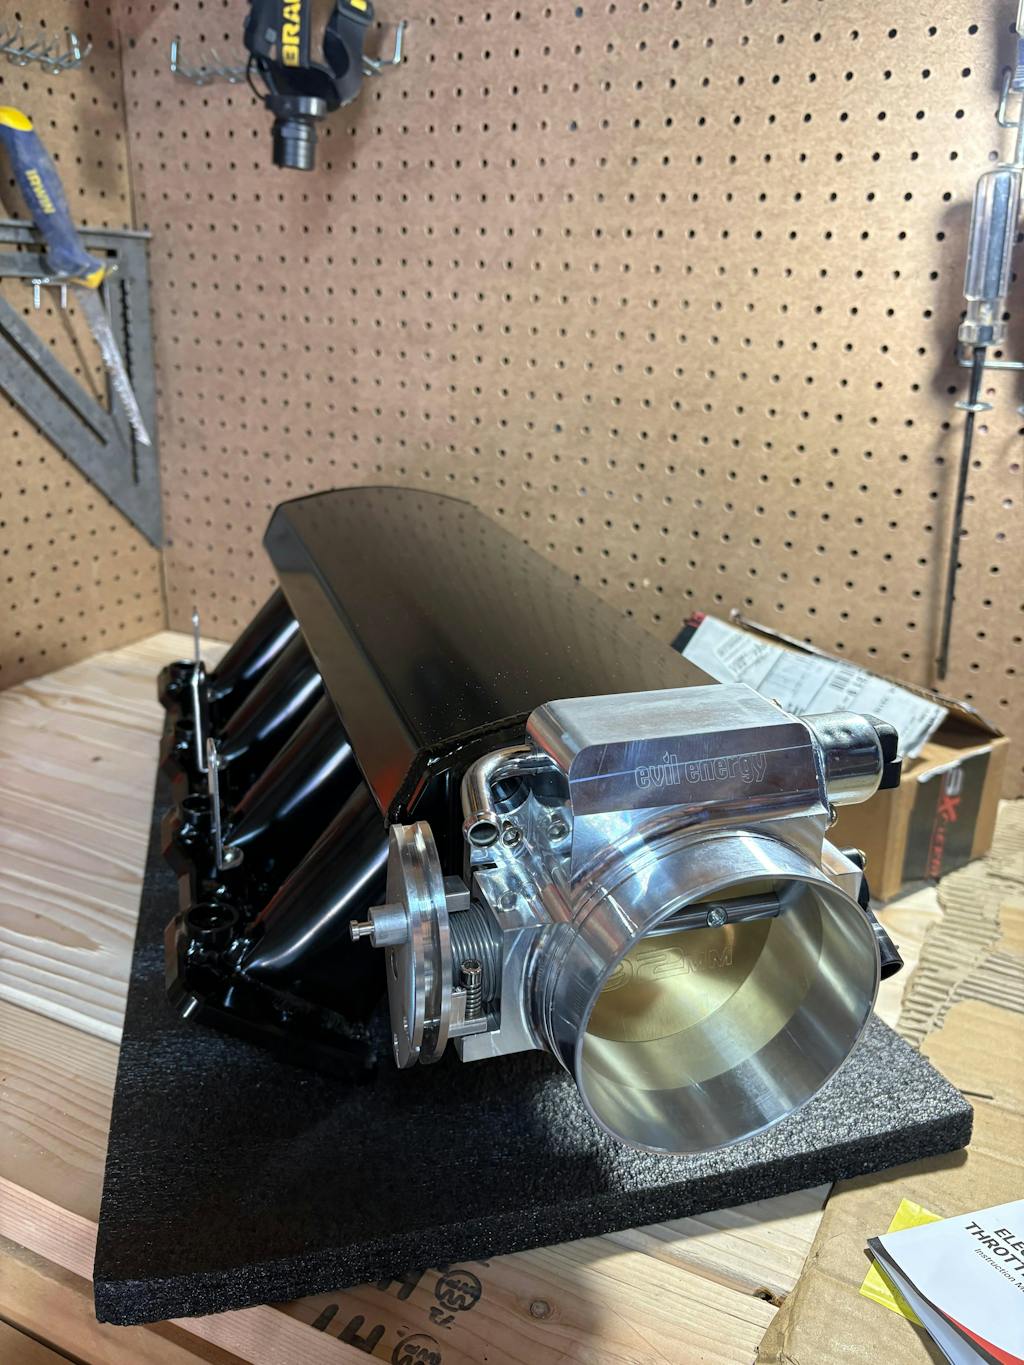
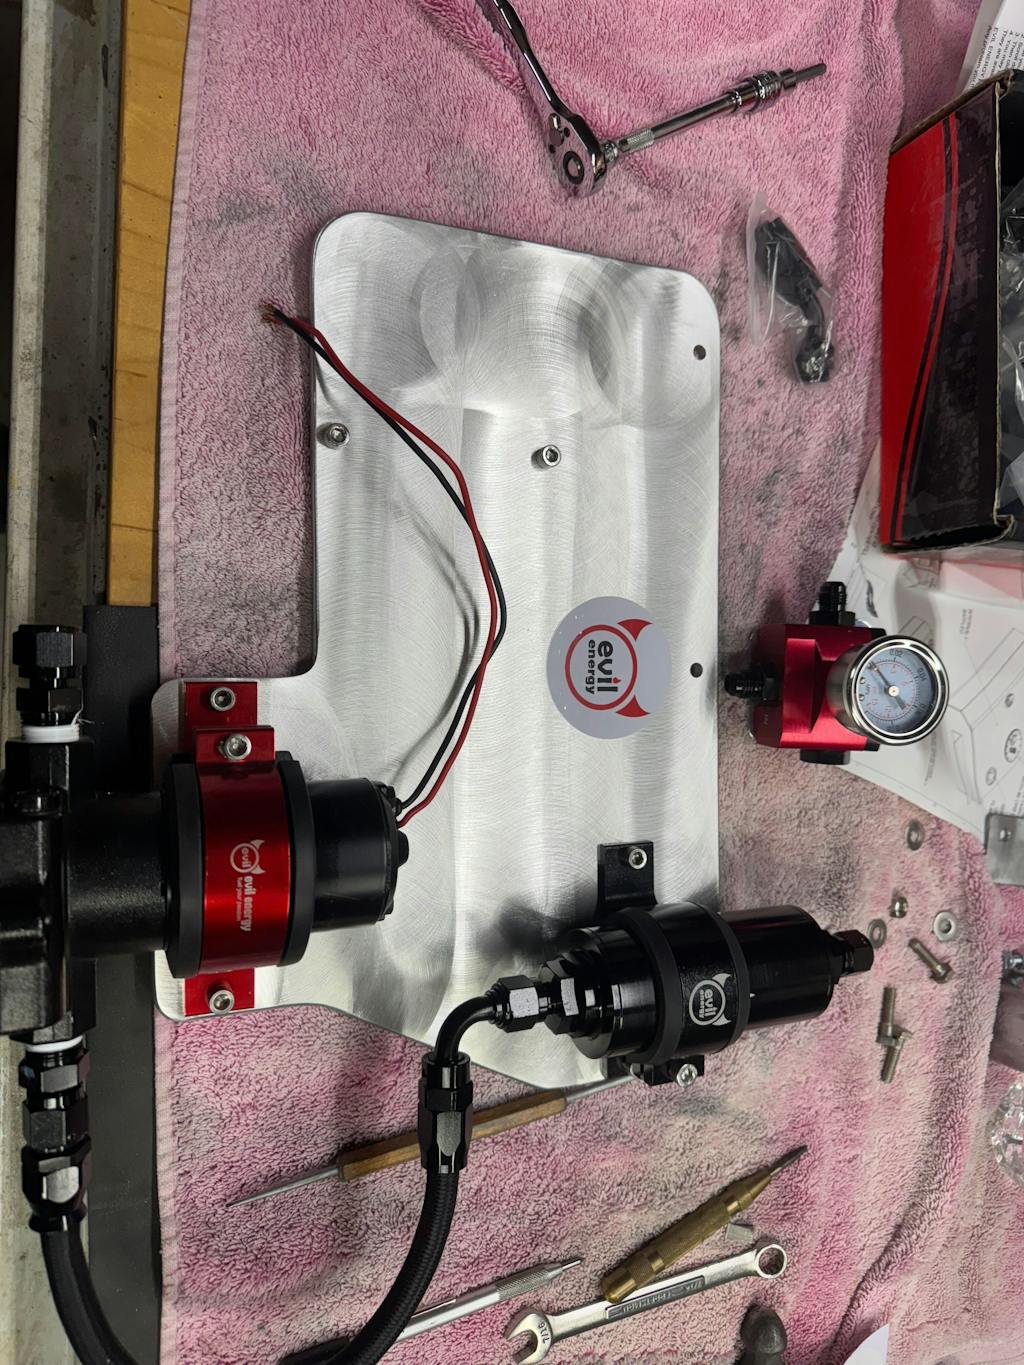
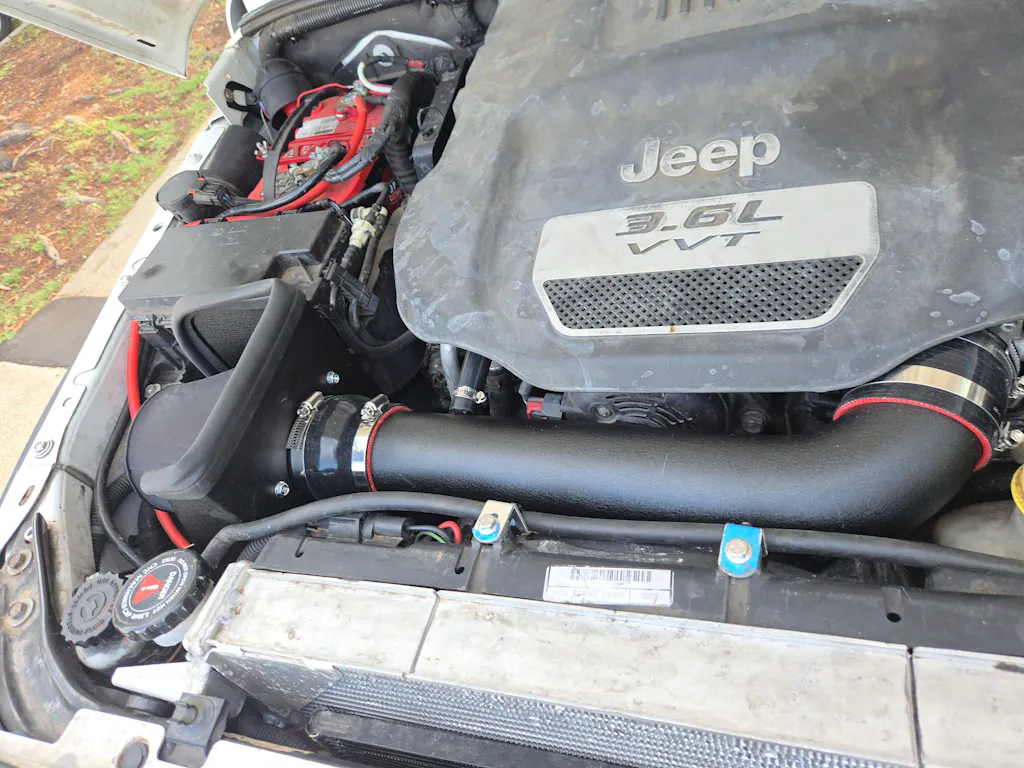
Upgrade Your Fuel System While You're Under the Hood
A healthy ignition system works hand-in-hand with proper fuel delivery. Evil Energy offers several upgrades worth considering during your Cruze maintenance session:
|
Current State
|
Upgrade Option
|
|
Original fuel lines aging (10+ year old rubber)
|
PTFE fuel line — ethanol-resistant, permanent solution
|
|
Fuel filter overdue
|
|
|
Building power (tune, intercooler, downpipe)
|
Complete EFI fuel system kits handle increased fuel flow needs
|
Tags: