Close


EVILENERGY | Celebrate the Game, Upgrade Your Build!

Show Your Ride, support Your Team!

Featured Products
![[20FT] EVIL ENERGY PTFE Fuel Line Kit, complete black hose & fittings set, 180-day return](http://www.ievilenergy.com/cdn/shop/files/Test-2025-Evilenergy-125598065_940x.png?v=1742144807)
![[16FT] EVIL ENERGY PTFE Fuel Line Kit, black braided hose, fittings, free shipping & return](http://www.ievilenergy.com/cdn/shop/files/Test-2025-Evilenergy-125598171_940x.png?v=1742144807)
EVIL ENERGY 4/6/8/10AN PTFE Fuel Line Kit | E85 Nylon Braided Hose | 16/20FT Black Black with Comprehensive Fittings
- $62.09
- $62.09
$70.99- Unit price
- per
![CPE Fuel Line[25FT]](http://www.ievilenergy.com/cdn/shop/files/25FTCPE_FuelLine_940x.png?v=1735220649)
![CPE Fuel Line[20FT]](http://www.ievilenergy.com/cdn/shop/files/20FTCPE_FuelLine_940x.png?v=1735220649)
EVIL ENERGY 4/6/8/10AN CPE Fuel Line Kit Black Nylon Braided Fuel Hose Fitting Kit 20FT/25FT
- $65.99
- $65.99
$76.89- Unit price
- per
About Author

Amber
2006 F-150 Coil Pack Replacement: Complete 2004–2007 F-150 DIY Guide
13 May 2026
0 Comments

🎁 A Personal Gift For My Readers
To support your project, I've secured an exclusive 8% OFF for you.
Simply paste the code at checkout.
💡 Use the savings to grab your extra fittings, oil lines, or connectors for free!
Your Promo Code
Blogs8
Tap to copy & save
🛡️ Official Reader Discount
🔧 Save on Fittings/Hoses
🔒 Secure Checkout
Quick Answer
2006 f150 coil pack replacement is one of the most common maintenance tasks for 11th-generation (2004–2008) F-150 owners. The 04 f150 coil pack replacement process is identical across all 2-valve Triton V8 models from 2004 to 2007. Each cylinder features its own dedicated unit, and the process is very similar to standard ignition coil repair procedures found on most modern trucks.
What you need to know up front:
✅ 8 individual coils (Motorcraft DG508 is the OEM part number)
✅ Each coil costs $18–$70 depending on brand; full set runs $144–$560
✅ DIY time: 20–40 minutes per coil; 1.5–2 hours for a full set of 8
✅ Tools needed: 10 mm socket, extension, ratchet, dielectric grease
Introduction
If you're reading this, your truck has probably thrown a check engine light. You're not alone — the 4.6L and 5.4L 2-valve Triton V8 engines are well-known for occasional coil failures once they pass the 80,000-mile mark. The good news? Whether you are performing a 2004 f150 coil pack replacement or a specific 2007 ford f150 ignition coil replacement, the job is very DIY-friendly.
For a broader look at this system, you can also consult our general Ford F150 ignition coil replacement guide.
Which Model Years Does This Guide Cover?
This article specifically covers the 2-valve (2V) Triton V8 engines where 2006 f150 coil pack replacement applies directly:
|
Model Year
|
Engines Covered
|
Coil Part Number
|
Notes
|
|
2004 F-150
|
4.6L 2V V8, 5.4L 2V V8
|
Motorcraft DG508
|
First year of 11th-gen body
|
|
2005 F-150
|
4.6L 2V V8, 5.4L 2V V8
|
Motorcraft DG508
|
Same procedure as 2006
|
|
2006 F-150
|
4.6L 2V V8, 5.4L 2V V8
|
Motorcraft DG508
|
Most common year for this search term
|
|
2007 F-150 (classic/heritage)
|
4.6L 2V V8, 5.4L 2V V8
|
Motorcraft DG508
|
See the 2007 specific guide
|
⚠️ ⚠️ Important: If you have a 3-valve (3V) engine (2005–2008 FX4/FX2 with 24 valves), use Motorcraft DG511 instead. This guide focuses on the more common 2-valve configuration.
Parts Reference: 2004–2007 F-150 Coil Pack Numbers
Before ordering parts, confirm which engine you have under the hood:
|
Engine
|
Valve Configuration
|
OEM Coil PN
|
Aftermarket Equivalent
|
Quantity Needed
|
|
4.6L Triton V8
|
2-Valve
|
Motorcraft DG508
|
Denso 673-2301, NGK 48808
|
8
|
|
5.4L Triton V8
|
2-Valve
|
Motorcraft DG508 / DG457
|
AC Delco D581, BWD E594
|
8
|
|
4.6L Triton V8 (3V)
|
3-Valve
|
Motorcraft DG511
|
Denso 673-2302, NGK 48809
|
8
|
|
5.4L Triton V8 (3V)
|
3-Valve
|
Motorcraft DG511
|
Standard UF354
|
8
|
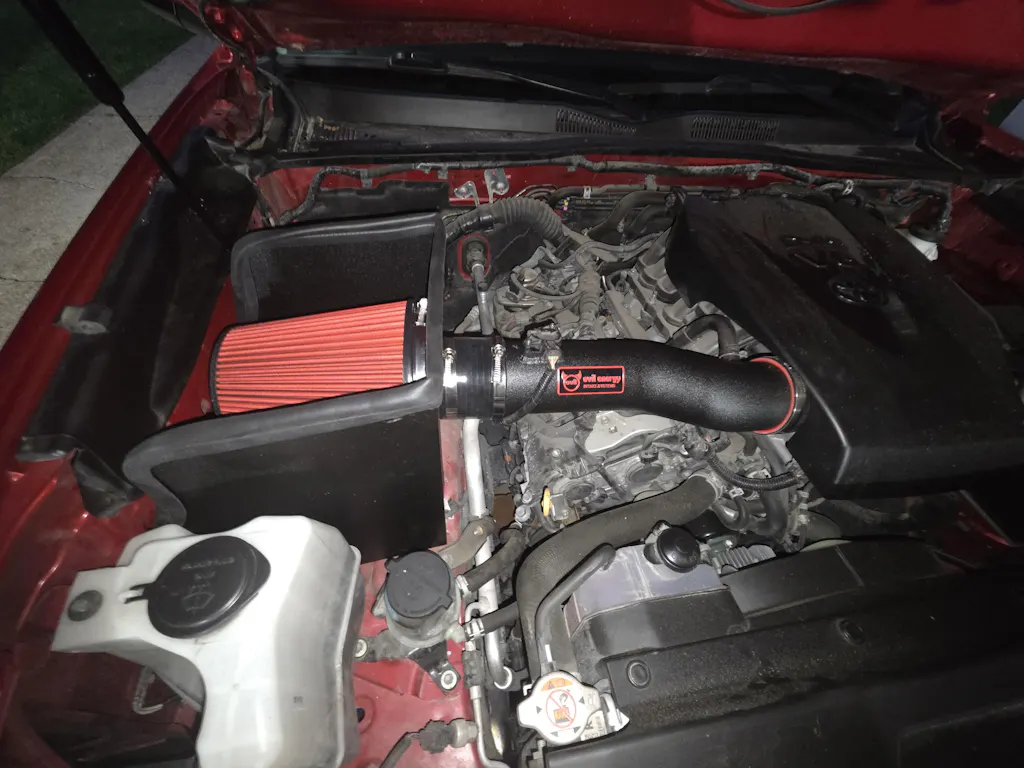
How to Identify Your Engine
|
Method
|
What to Look For
|
|
Hood decal/sticker
|
'4.6L' or '5.4L' printed on emissions label under hood
|
|
VIN 8th digit
|
W = 4.6L 2V, V = 5.4L 2V/3V, 5 = 4.6L 3V, 6 = 5.4L 2V, 8 = 5.4L 3V
|
|
Valve cover marking
|
'2V' or '3V' cast into valve cover near oil cap
|
|
Spark plug count
|
Remove engine cover — count 8 spark plug wires/tubes = 8 coils
|
2006 F-150 Coil Pack Replacement: Full Procedure
Tools & Supplies Checklist
|
Item
|
Spec / Details
|
Required?
|
|
Socket wrench set
|
10 mm socket, 3/8-inch drive
|
Essential
|
|
Extension
|
4-inch–6-inch (10–15 cm)
|
Essential
|
|
Ratchet
|
3/8-inch drive
|
Essential
|
|
Dielectric grease
|
Small tube
|
Highly recommended
|
|
Needle-nose pliers
|
Any brand
|
Helpful for connectors
|
|
Torque wrench
|
3/8-inch drive (optional but recommended)
|
Recommended
|
|
Magnetic tray or ziplock bags
|
For organizing bolts
|
Helpful
|
|
Flashlight
|
Phone flashlight works fine
|
Helpful
|
Pre-Replacement Checks
Before pulling any coils, run through this quick diagnostic flowchart to confirm you actually need a 2006 f150 coil pack replacement:
|
Check
|
How
|
Pass Criteria
|
|
Pull DTCs
|
OBD-II scanner or free store scan
|
P030x + P035x codes present
|
|
Visual inspection
|
Look at each coil body for cracks/tracking
|
Cracks or carbon lines visible on suspect coil
|
|
Swap test (if unsure)
|
Swap suspected coil with adjacent cylinder
|
Misfire code follows swapped coil
|
|
Check spark plug tube
|
Shine light down tube after removing coil
|
No oil, coolant, or heavy debris present
|
Replacement Steps (Single Coil)
-
Park on level ground and let the engine cool completely — at least 30 minutes after driving. The valve covers get very hot.
-
Disconnect the negative battery terminal using a 10 mm socket. Wait 2 minutes for PCM reset before proceeding.
-
Identify the target cylinder from your diagnostic code:
-
Passenger side (right side facing grille): cylinders 1 (front), 2, 3, 4 (rear)
-
Driver's side (left side): cylinders 5 (front), 6, 7, 8 (rear)
-
Unplug the electrical connector — Locate the gray/black connector on top of the coil. Press the release tab firmly inward while pulling straight back on the connector body. Do NOT pull on the wires themselves.
-
Remove the 10 mm retaining bolt — One bolt. Place it in your magnetic tray or labeled bag.
-
Twist and pull the coil upward — Give the coil a gentle quarter-turn left-right to break the rubber boot seal free from the spark plug insulator. Pull straight up with steady pressure.
-
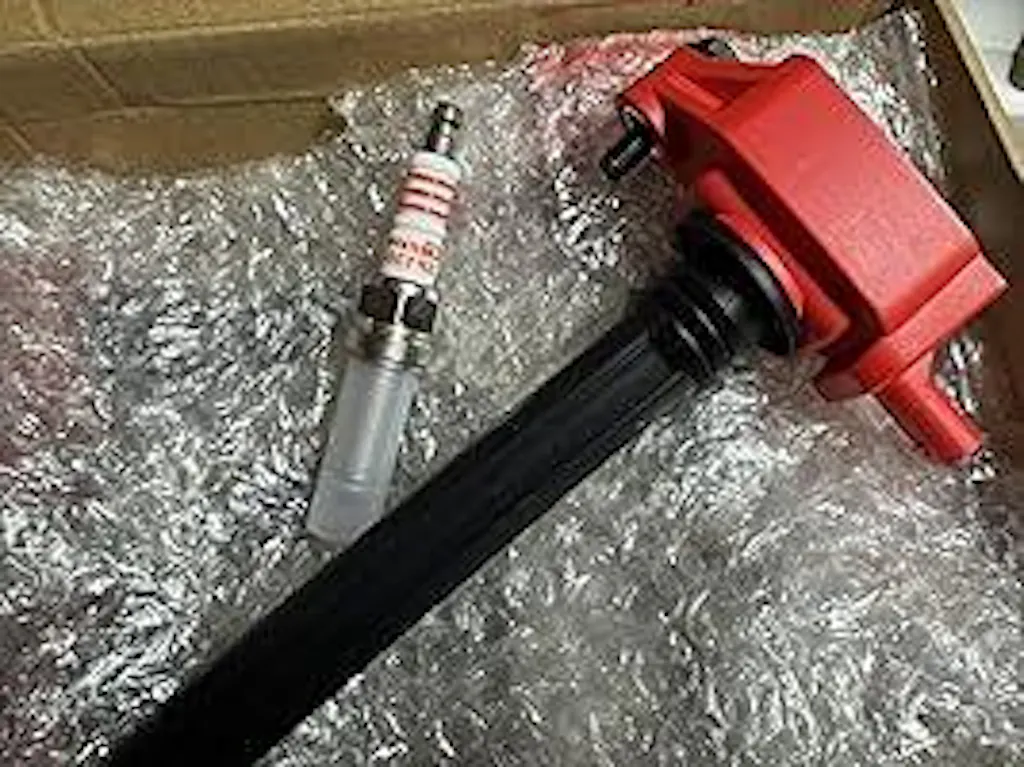
Inspect the removed coil — Look for cracks, burn marks, white carbon tracking lines, oil contamination, or a melted/rubberized boot. Photograph it if documenting for warranty claim.
-
Inspect down the spark plug tube — Use a flashlight. Critical: if you see oil pooled in the tube, you have a valve cover gasket leak that must be fixed first, or your new coil will fail again within weeks.
-
Remove and inspect the spark plug (recommended) — Use a 5/8-inch spark plug socket. Check gap condition, electrode wear, fuel/oil fouling. Replace if gap exceeds 0.065-inch (1.65 mm) or electrodes are worn.
-
Prepare the new coil — Apply a thin film of dielectric grease around the inner surface of the rubber boot. Avoid getting grease on the metal contact spring at the tip.
-
Install the new coil — Push straight down until fully seated. You should feel slight resistance then a 'seat' as the spring contacts the spark plug terminal.
-
Reinstall the bolt — Hand-tighten the 10 mm bolt, then add approximately 1/8 turn with the ratchet. Target: 71 lb-in (8 N·m). Do NOT overtorque — aluminum threads strip easily.
-
Reconnect the electrical connector until you hear an audible click confirming lock engagement.
-
Repeat for additional coils if replacing multiple units. Work one at a time to avoid mixing up positions.
-
Reconnect battery, start engine, verify smooth idle, take test drive.
Doing a Complete Set of 8 Coils
When replacing all eight coils during a 2005 ford f150 ignition coil replacement or 2007 ford f150 ignition coil replacement tune-up, follow this efficiency workflow:
|
Step
|
Action
|
Time Savings
|
|
1
|
Disconnect battery once at start
|
Avoid repeating
|
|
2
|
Unplug all 8 connectors first
|
Batch similar motions together
|
|
3
|
Remove all 8 bolts, keep organized by position
|
Prevent mix-up
|
|
4
|
Remove all 8 coils, inspect each
|
Compare condition patterns
|
|
5
|
Inspect all 8 spark plugs
|
Replace all plugs now if needed
|
|
6
|
Install all new coils with dielectric grease
|
Consistent technique
|
|
7
|
Torque all bolts
|
Uniform tightness
|
|
8
|
Reconnect all connectors, verify clicks
|
Final check
|
|
9
|
Reconnect battery, start, test drive
|
Single verification pass
|
Total estimated time for full set: 1 hour 15 minutes to 2 hours depending on experience.
Common Problems Specific to 2004–2007 F-150 Coils
Problem #1: Oil in the Spark Plug Tube
This is the single most common cause of repeated 2006 f150 coil pack replacement failures on the 2-valve Triton engines.
|
Detail
|
Information
|
|
Cause
|
Valve cover gasket degrades and leaks oil into spark plug wells
|
|
Frequency
|
Reported by ~30% of high-mileage owners on forums
|
|
Effect on coil
|
Oil creates conductive path → short circuit → coil overheats and fails
|
|
Fix
|
Replace valve cover gasket set ($25–$45 for Fel-Pro VS50563R or equivalent)
|
|
Difficulty
|
Moderate — requires removing valve cover, cleaning surfaces, applying RTV sealant
|
Problem #2: Carbon Tracking on Coil Body
|
Appearance
|
Cause
|
Solution
|
|
Thin black/gray line running vertically on coil body
|
Spark arcing along the exterior due to moisture, cracked epoxy, or dirty surface
|
Replace coil immediately; ensure boot seals tightly
|
|
White powdery deposit near tower
|
Electrical discharge through microscopic crack in housing
|
Replace coil; inspect spark plug wire/boot condition
|
Problem #3: Connector Tab Breakage
The plastic electrical connectors become brittle after years of engine heat cycling (140°F+ / 60°C+ under operating conditions).
|
Situation
|
Fix
|
|
Connector tab broke but pins still good
|
Repair pigtail connector (~$8–$15, available at auto parts stores)
|
|
Pins damaged or corroded
|
Replace pigtail; splice wires with heat-shrink crimp connectors
|
|
Connector melts/discolors
|
Check for short circuit in coil; replace both coil and connector
|
Cost Summary: 2004–2007 F-150 Coil Replacement
|
Scenario
|
Parts Cost (DIY)
|
Shop Labor
|
Total
|
|
Single coil, budget aftermarket
|
$18–$25
|
Free
|
$18–$25
|
|
Single coil, quality aftermarket (Denso/NGK)
|
$28–$42
|
Free
|
$28–$42
|
|
Single coil, OEM Motorcraft
|
$45–$70
|
Free
|
$45–$70
|
|
Full set × 8, budget aftermarket
|
$144–$200
|
Free
|
$144–$200
|
|
Full set × 8, quality aftermarket
|
$224–$336
|
Free
|
$224–$336
|
|
Full set × 8, OEM Motorcraft
|
$360–$560
|
Free
|
$360–$560
|
|
Single coil, dealer-installed
|
$60–$90 + markup
|
$100–$150
|
$160–$240
|
|
Full set, dealer-installed
|
$400–$700
|
$250–$350
|
$650–$1,050
|
Best value tip: Watch for Advance Auto Parts or AutoZone promotions — they frequently offer 20–30% off online orders plus free same-day pickup. A set of 8 NGK or Denso coils can often be had for under $180 with a promo code.
FAQ: 2004–2007 F-150 Coil Pack Replacement
Q: Are all 2004–2007 F-150 coil packs the same?
A: For the 2-valve 4.6L and 5.4L engines, yes — Motorcraft DG508 fits every 04 f150 coil pack replacement scenario from 2004 through 2007. The only exception is the less-common 3-valve variant, which uses DG511. Always double-check your specific engine before ordering.
|
Engine Type
|
Interchangeable?
|
Cross-Reference Notes
|
|
4.6L 2V vs 5.4L 2V
|
Yes — both use DG508
|
Same coil design; 5.4L just works harder
|
|
2-Valve vs 3-Valve
|
NO — different part numbers
|
DG508 ≠ DG511; physically different dimensions
|
|
2004 vs 2005 vs 2006 vs 2007 (all 2V)
|
Yes — identical
|
No year-to-year changes on 2V engines
|
Q: How do I know which cylinder is bad on my 2006 F-150?
A: Your OBD-II code tells you directly:
|
Code
|
Cylinder Location
|
Side of Engine
|
|
P0301 / P0351
|
Cylinder 1
|
Passenger front
|
|
P0302 / P0352
|
Cylinder 2
|
Passenger side, second from front
|
|
P0303 / P0353
|
Cylinder 3
|
Passenger side, third from front
|
|
P0304 / P0354
|
Cylinder 4
|
Passenger rear
|
|
P0305 / P0355
|
Cylinder 5
|
Driver front
|
|
P0306 / P0356
|
Cylinder 6
|
Driver side, second from front
|
|
P0307 / P0357
|
Cylinder 7
|
Driver side, third from front
|
|
P0308 / P0358
|
Cylinder 8
|
Driver rear
|
No code reader? Most AutoZone, Advance Auto, O'Reilly, and NAPA stores will read your codes for free.
Q: Should I replace just one coil or all of them?
A:
|
Your Situation
|
Recommendation
|
Reasoning
|
|
Truck has < 80k miles, first coil failure ever
|
Replace just the bad one
|
Other coils likely still healthy
|
|
Truck has 80k–120k miles, first failure
|
Replace the bad one; consider buying a spare
|
Others may follow but not urgent
|
|
Truck has > 120k miles
|
Replace all 8 coils
|
Remaining lifespan unpredictable; labor already invested
|
|
Already replaced one coil 6 months ago, another failed
|
Replace the entire set
|
Pattern indicates end-of-life for original set
|
|
Planning to sell truck soon
|
Minimum viable fix (single coil only)
|
Keep cost down for quick sale
|
Q: What's the difference between a coil and a 'coil pack' on my 2006 F-150?
A: On the 2004–2007 F-150 2-valve engines, the terms are used interchangeably because each cylinder gets its own dedicated unit. Technically speaking:
|
Term
|
Technical Definition
|
On Your F-150
|
|
Ignition coil
|
The electromagnetic transformer component
|
Exactly what sits above each spark plug
|
|
Coil pack
|
Often refers to multi-coil modules (waste spark)
|
Not used here — your truck uses COP (coil-on-plug)
|
|
COP unit
|
Coil-On-Plug = integrated coil sitting directly on plug
|
This IS what your truck uses
|
So when someone says '2004 f150 coil pack replacement,' they mean the exact same thing as 'ignition coil replacement' — one individual COP unit per cylinder.
Next Steps: Related Guides
-
Ford F-150 Ignition Coil Replacement Guide: A full overview of brands and swap testing.
-
2007 Ford F-150 Ignition Coil: Specific product options for late 11th-gen trucks.
-
Ignition Coil Repair: Comprehensive theory, testing, and troubleshooting for all vehicles, including a look at Chevy Cruze coil pack replacement.
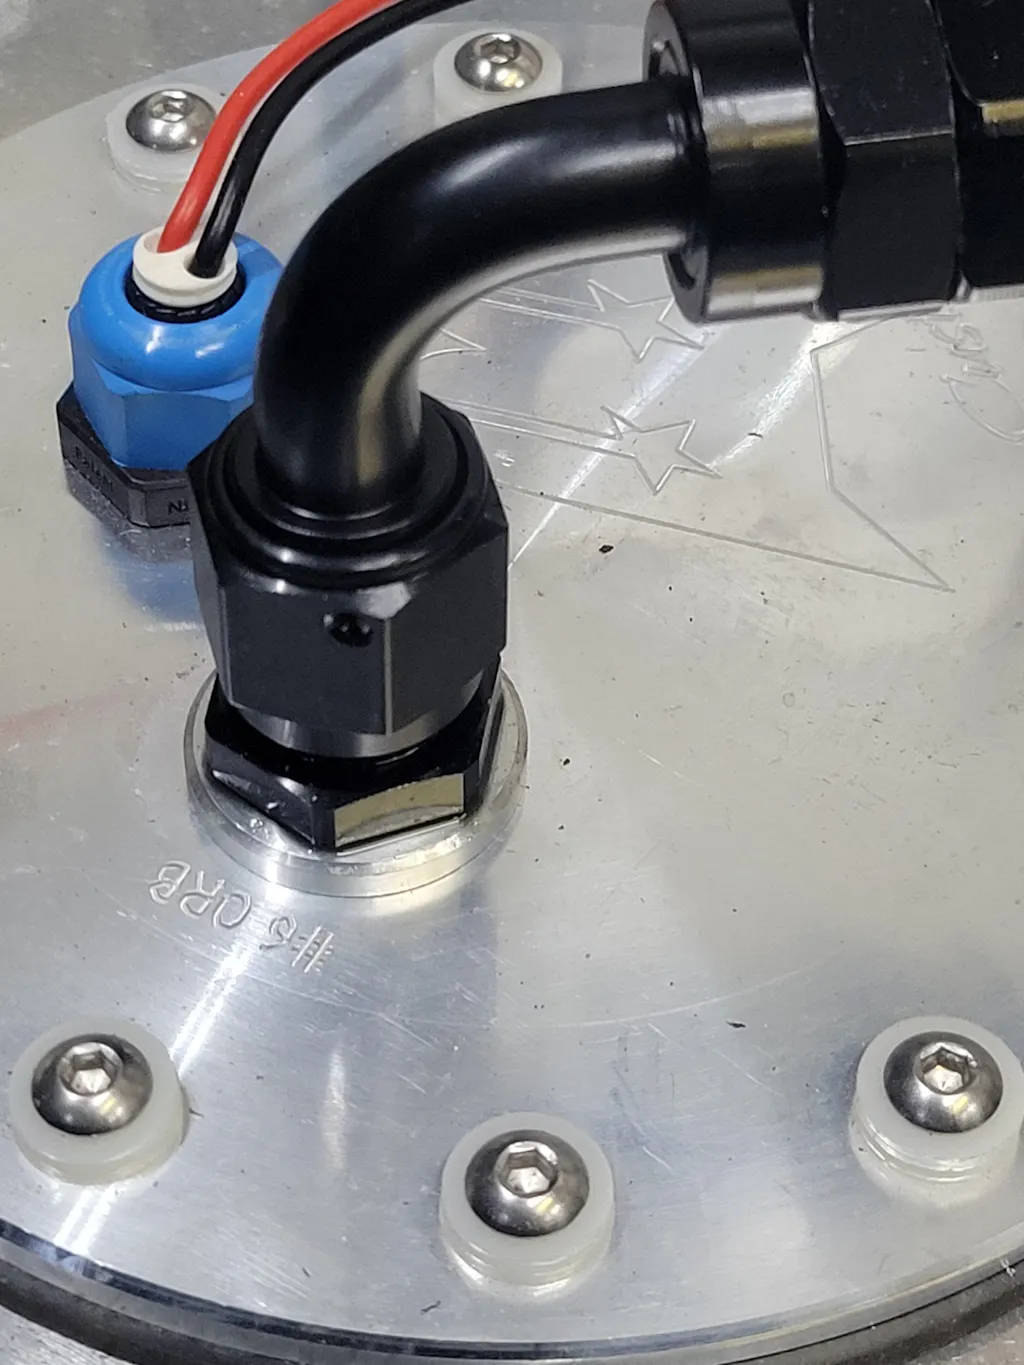
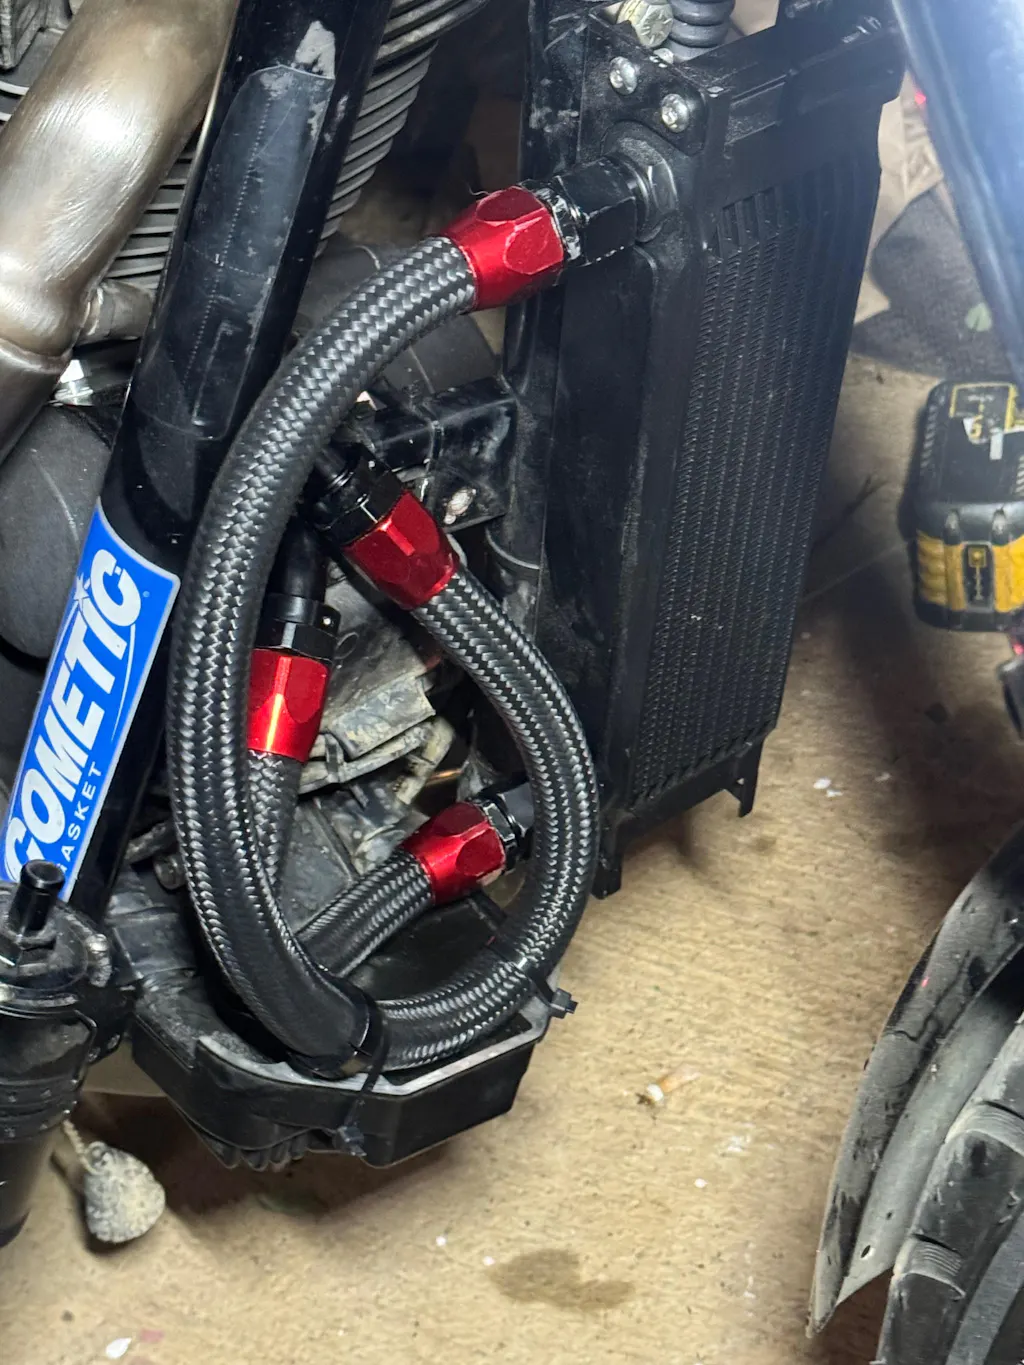
Is It Time to Upgrade Your Fuel System While You're at It?
A fresh ignition system pairs naturally with updated fuel delivery components. Evil Energy offers several upgrades compatible with 2004–2008 F-150 builds:
|
Current Condition
|
Upgrade Option
|
|
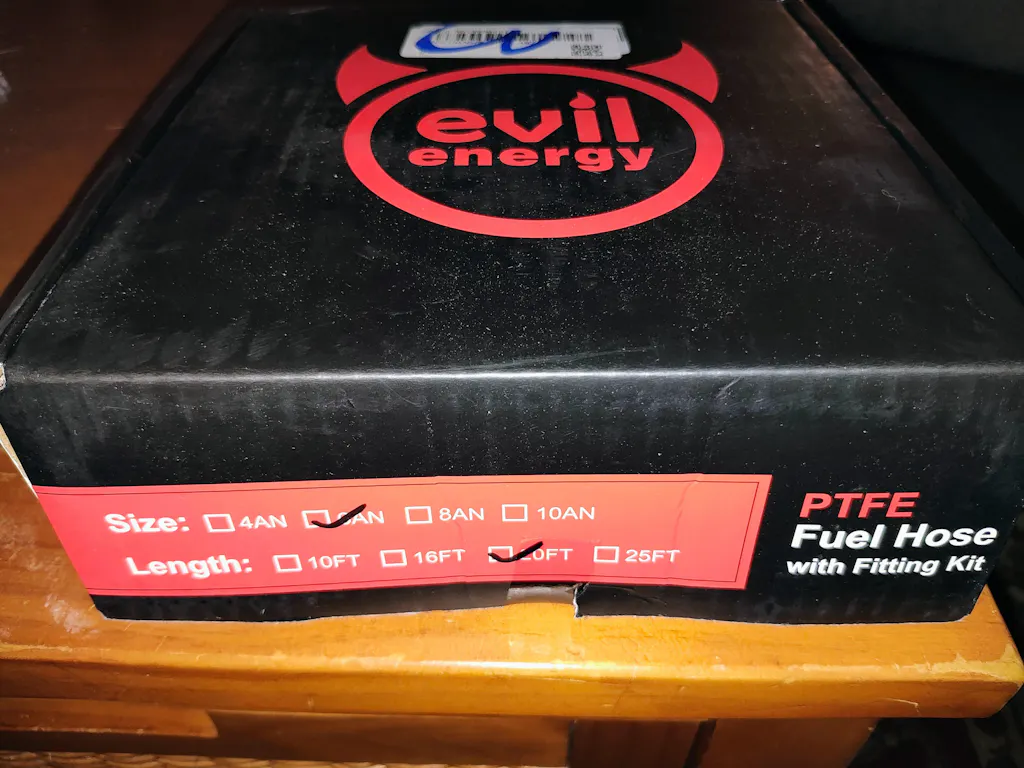
Original rubber fuel hoses showing age cracks
|
PTFE fuel line — ethanol-proof, indefinite service life
|
|
Fuel filter overdue for replacement
|
Fuel line filters and fittings guide for EFI maintenance
|
|
Adding power (tuner, cam, headers)
|
Complete EFI fuel system kits support increased fuel demand
|
Tags: