![[20FT] EVIL ENERGY PTFE Fuel Line Kit, complete black hose & fittings set, 180-day return](http://www.ievilenergy.com/cdn/shop/files/Test-2025-Evilenergy-125598065_940x.png?v=1742144807)
![[16FT] EVIL ENERGY PTFE Fuel Line Kit, black braided hose, fittings, free shipping & return](http://www.ievilenergy.com/cdn/shop/files/Test-2025-Evilenergy-125598171_940x.png?v=1742144807)
![CPE Fuel Line[25FT]](http://www.ievilenergy.com/cdn/shop/files/25FTCPE_FuelLine_940x.png?v=1735220649)
![CPE Fuel Line[20FT]](http://www.ievilenergy.com/cdn/shop/files/20FTCPE_FuelLine_940x.png?v=1735220649)

How to measure v band clamp

🎁 A Personal Gift For My Readers
To support your project, I've secured an exclusive 8% OFF for you.
Simply paste the code at checkout.
💡 Use the savings to grab your extra fittings, oil lines, or connectors for free!
V-Band clamps are crucial for creating strong, leak-free connections in exhaust systems. These versatile components are used extensively in high-performance and everyday vehicles alike. V band clamps stand out for their durability and ease of installation, making them a popular choice among both professional mechanics and car enthusiasts.
Gathering the Right Tools for the Job
Accuracy in measuring V band clamps starts with having the right tools. A high-quality caliper is indispensable; it allows for precise measurements down to the smallest fractions. A reliable measuring tape can also be handy for larger dimensions and quick checks.
Each tool has a distinct role. Calipers are perfect for getting detailed measurements like diameters and thicknesses. They are your go-to for precision. Meanwhile, the measuring tape is great for lengthier, more accessible parts, providing a quick and efficient way to gauge size.
It's also worth noting that familiarity with these tools is key. If you're new to using calipers, get comfortable with how they work. Practice makes perfect, and a steady hand leads to more accurate measurements.
How to Measure the Flange's Inner Diameter
Measuring the inner diameter of a flange's counterbore requires precision. Start by using your caliper to measure across the innermost part of the flange. Ensure the caliper's arms are perfectly aligned with the walls of the counterbore for an accurate reading.
If the matching tube or pipe for the clamp isn't available, you can still get a good measurement. In this case, focus on the inner diameter of the counterbore itself. Carefully adjust the caliper to fit snugly inside the bore, and read the measurement without forcing the arms against the walls.
Accuracy is key in these measurements. Double-check your readings to ensure consistency. Even slight discrepancies can lead to issues in fitting, so taking a moment for a second look is always a good practice.
Figuring Out the Flange's Outer Size
To measure the outer diameter of the flange, you'll need to target its widest point. Use the caliper to span across the top of the flange, making sure it's touching the two farthest edges. This measurement is crucial as it determines how well the flange will align with other components.
For an accurate outer diameter reading, ensure the caliper is held straight and not at an angle. Even a small angular misalignment can skew the measurement, leading to potential mismatches when assembling parts.
A second verification of the measurement is always a good idea. Making minor errors is easy, especially in a busy work environment. A quick recheck can save a lot of time and hassle.
Getting the Flange Apex Width Right
The flange apex width is the thickness of the flange's edge, and it's critical for a snug fit. To measure this, position the caliper's jaws over the flange's edge. It's important to measure only the flat part of the edge, avoiding any curved areas.
Focusing on the flat part of the flange's edge ensures you get the most accurate thickness measurement. This is where the flange will make contact with other components. Measuring any curved or irregular parts could lead to incorrect sizing.
For band clamps, the apex width of the clamp is double the measurement of a single flange's edge. This is because the clamp needs to accommodate the combined thickness of two flange edges when joined together.
Measuring the Base Width of the Flange
The base width of the flange is another key dimension. To measure this, position the caliper across the base of the flange, where it extends outward. This width is critical as it impacts how the clamp sits and seals.
Ensure the caliper is parallel to the base for an accurate reading. Any slant could lead to incorrect measurements. It's a detail that makes a big difference in getting the right fit.
Double-checking this measurement can prevent future fitting problems. A small effort here can save a lot of trouble during the final assembly.
Understanding the Female Retainer's Measurements
Measuring the Female Retainer involves two aspects: diameter and depth. To measure the diameter, use the caliper across the widest part of the retainer. Then, switch to the depth measurement mode on your caliper to determine the retainer's depth.
Keep in mind that different flange styles require specific approaches. The nuances of these styles will be elaborated on later, ensuring you have a thorough understanding for each type.
Accuracy in these measurements is crucial for a secure and leak-free connection. Flanges that fit imperfectly can lead to system failures. Taking a bit more time to ensure precision in these measurements can prevent problems in the long run.
A Closer Look at Male Flange Measurements
Measuring Male Flanges requires a slightly different approach. Focus primarily on the protruding lip or the raised area of the flange. This part is crucial for a secure fit with its female counterpart.
The dimensions to zero in on include the diameter of the raised ring and its height. These measurements are vital as they ensure the male flange interlocks correctly with the female flange, creating a tight seal.
Taking extra care in measuring these dimensions can greatly impact the effectiveness of the clamp. A precise fit is essential for preventing leaks, especially in high-pressure situations. These are the details that can make or break the reliability of your exhaust system.
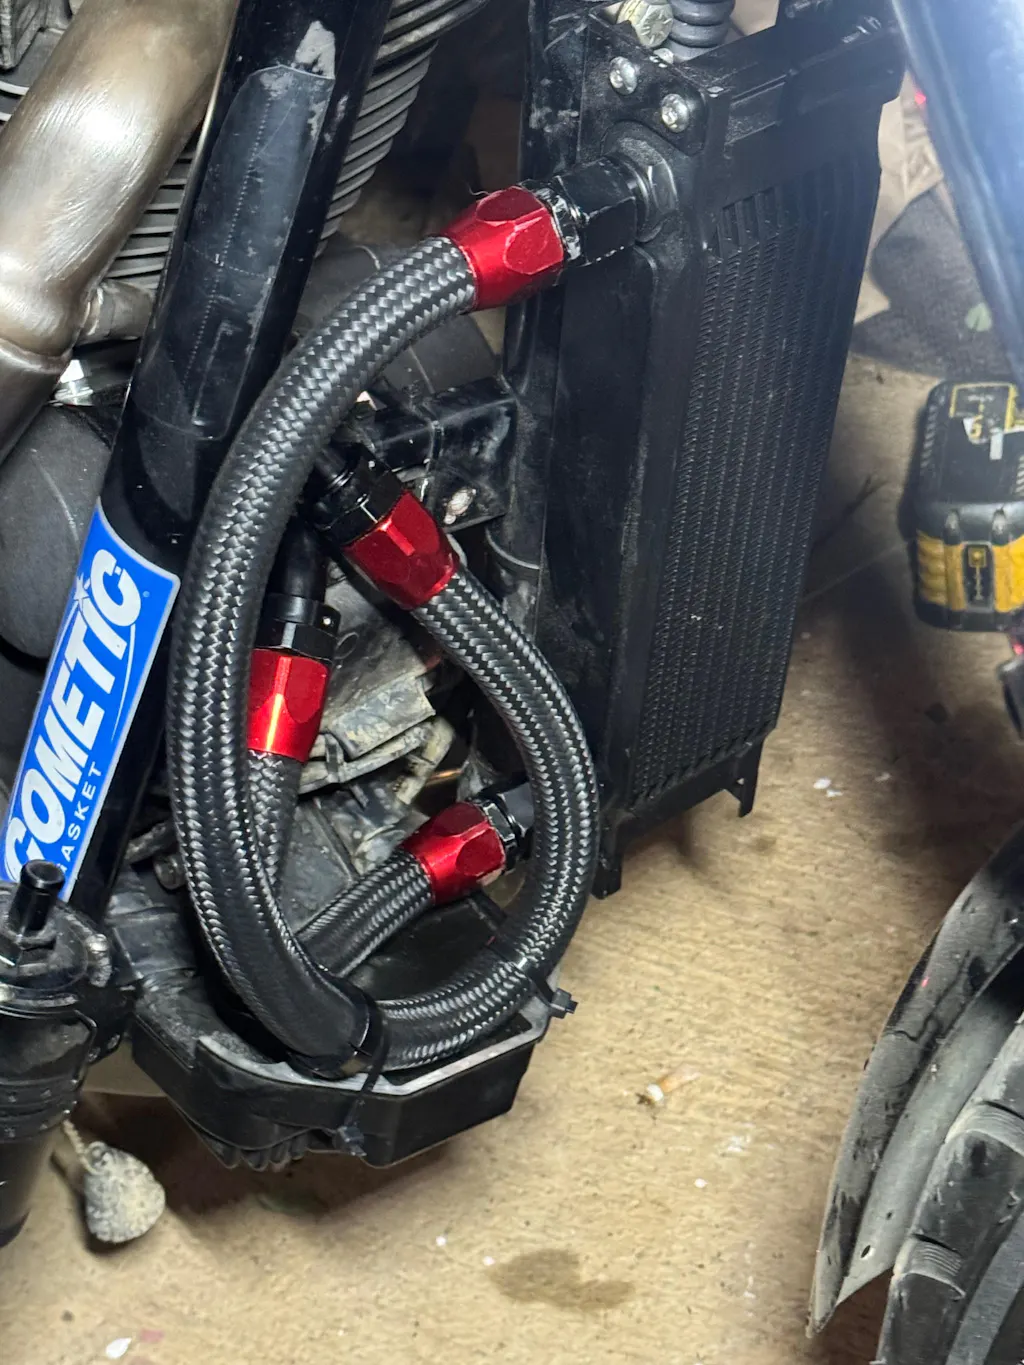
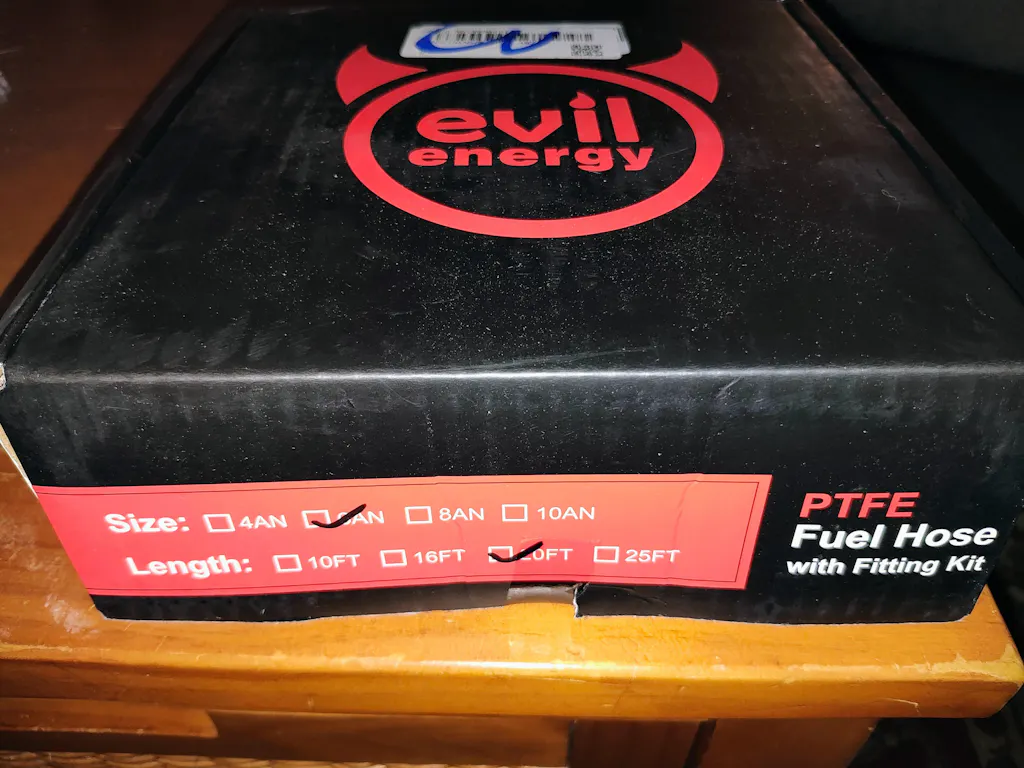
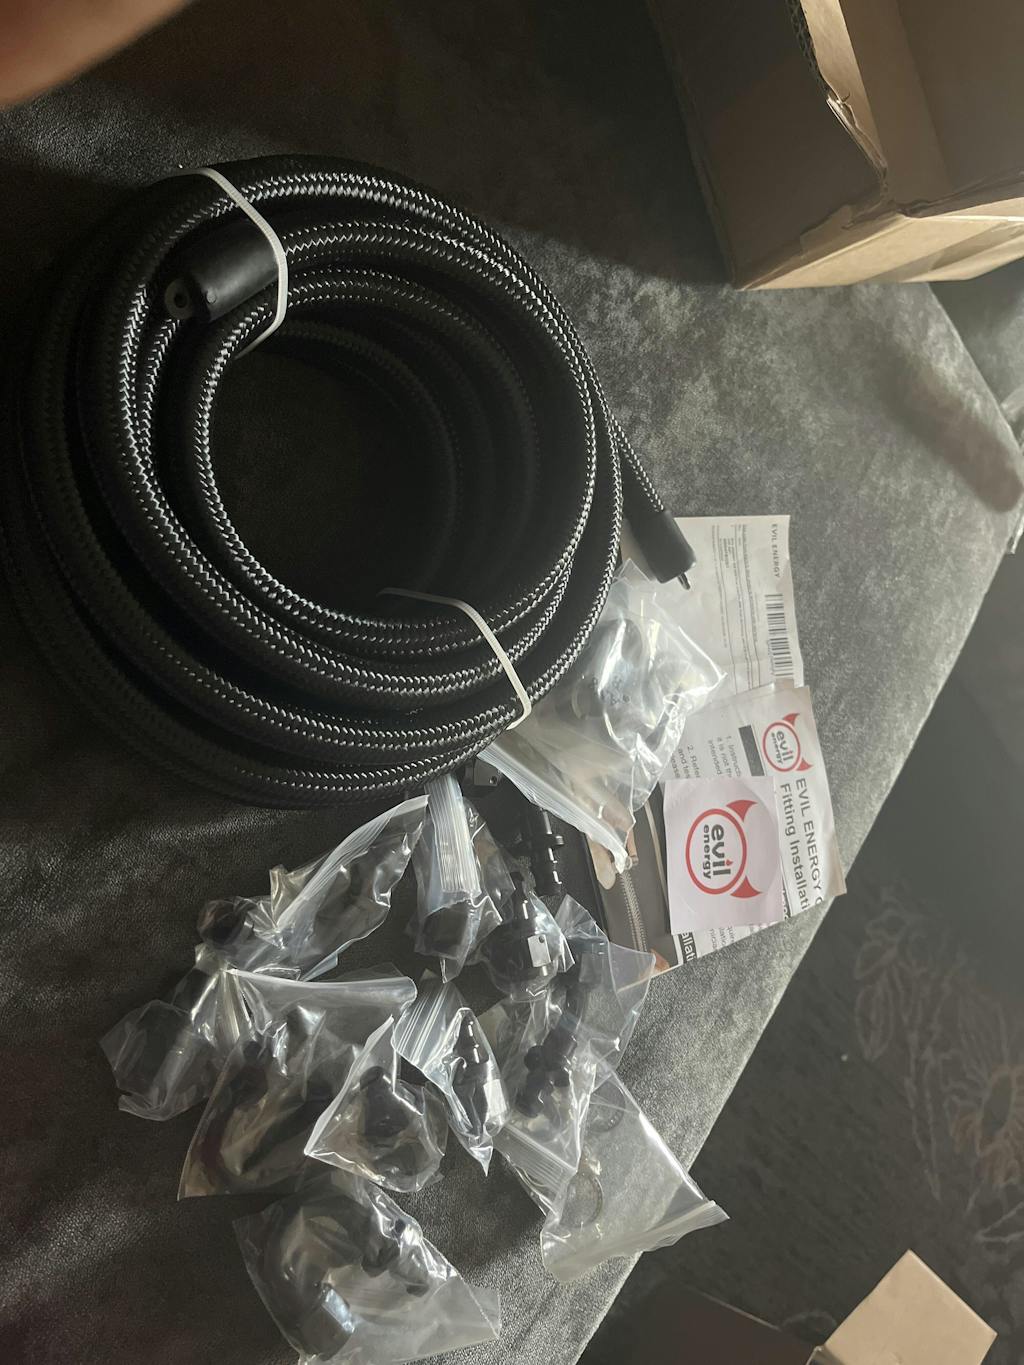
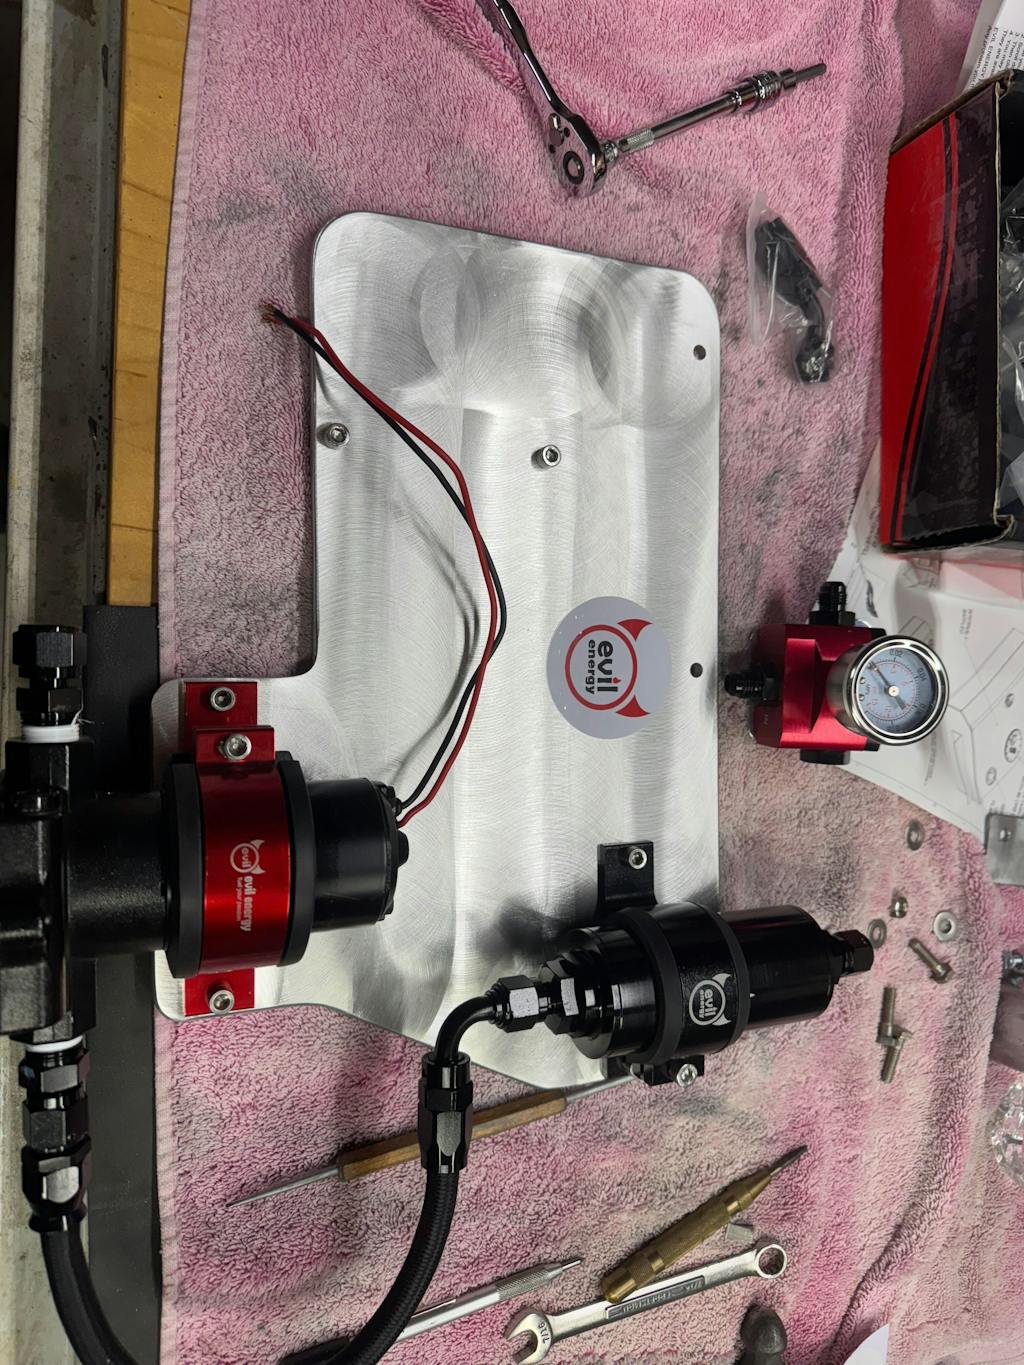
Using a PTFE hose might be a consideration for those involved in more complex automotive projects. These hoses are known for their durability and resistance to high temperatures, making them an excellent choice for demanding applications.
Conclusion
Understanding how to measure V band clamps accurately is a key skill for maintaining and improving the performance of vehicles. Precise measurements ensure strong, leak-free connections in exhaust systems, contributing to a vehicle's overall efficiency and safety.
For automotive enthusiasts and professionals alike, mastering this process is a step towards ensuring top vehicle performance and reliability.